
DIY Custom Closet (On a Budget!)
This is a blog post that is so long overdue ! We finished our baby girl Saylor’s custom closet back in April, and then her entire nursery in June, before her arrival in July :-). These last few months have been a rush and a blur preparing and then getting used to new mom life ! But now that things are a bit settled (Saylor is 8 weeks old!), I finally have some down time to write up this post on how we created our DIY custom closet in the nursery. This project would not have been possible without the help of Zack’s brother, Tory! I designed it, and he was the mastermind behind constructing it all.
I want to point out that although the custom closet was done in our nursery, it can really be done with any closet! And the basics of it can be repurposed to fit any size closet. Ours is about 7 feet wide.
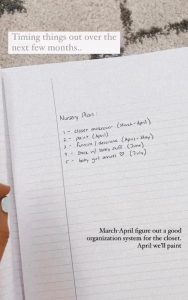
To backtrack a bit, I started the whole nursery project with a timeline in mind which helps me stay on track for our deadline of baby’s arrival :-). There were a few different components that needed to come together, including the custom closet. The timeline I planned for was paint/closet makeover March-April, furnish and decorate April-May, and stock with baby supplies in June. This gave me ample flex time should something take longer than anticipated.
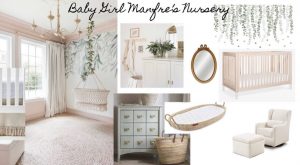
And as a reminder, here is the design board I created for the nursery and a link to the Nursery Design blog post and the final Nursery Reveal blog post. I was going with an enchanted garden / forest theme !
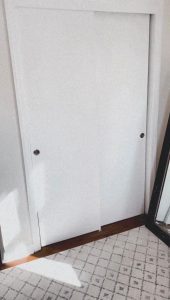
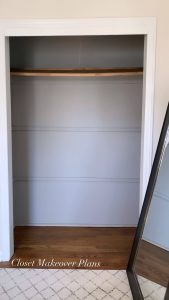
Just to give you a sense of what we were working with to begin, here is a before photo. The doors were these terrible sliding doors. It was impossible to see all the clothes in there at once, and I found that so frustrating. I knew these doors had to go.

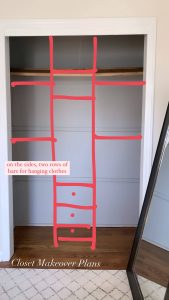
After taking them off, this is what we were left with. I quickly drew up a sketch of how I envisioned the closet to look. I wanted everything in here to be super organized – so that meant separate sections for hanging, drawers and shelves. It would involve a middle section with the drawers and shelves, and rods on either side.
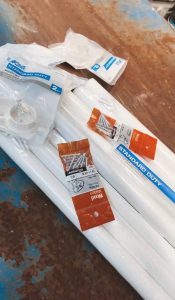
In order to accomplish this, I needed the following supplies, all which cost me under $350 (the beauty of IKEA! This does exclude the special bow knobs I picked out):
- IKEA Pax Wardrobe frame (these come in a variety of different sizes you can chose from depending on your closet size)
- Corresponding IKEA Komplement shelves and drawers
- 2x Melamine shelf boards in white (that we cut down to 4 pieces)
- 2x 1″x4″ primed wood boards in white (that we cut down to size for shelf support)
- Extendable closet rods
- Wood screws
- Drawer handle hardware (optional, I picked out these cute bow knobs from Etsy for our nursery!)
- Replacement Closet LED Light (optional)
- Paint
We also had on hand a saw (for cutting pieces down to size).

S H O P T H E P O S T :

The very first thing we did was spackle, sand and paint so we were starting with a clean slate inside the closet. After a lot of paint testing, we decided to go with the color Malted Milk by Sherwin Williams for the nursery trim, doors and interior of the closet. The pink would contrast against the creamy white color of the walls – Swiss Coffee by Behr.
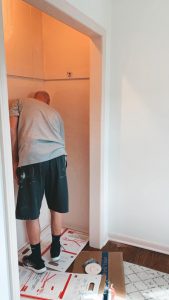
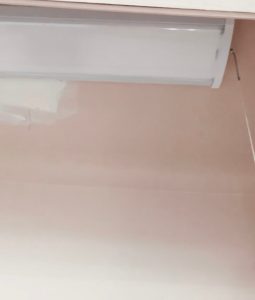
This is what it looked like once we had the inside painted and a blank slate to work with ! If you notice, we left one of the boards across the back to use as shelf support. So if you don’t have one existing you would need some more primed wood board to add that support.
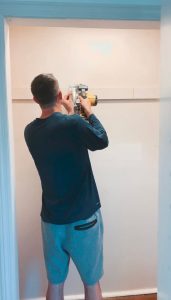
Then we replaced the old edison bulb light on the ceiling with a more flush LED bar light for better lighting in here (we had to touch up paint around it after).

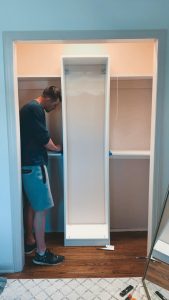
Next we assembled the IKEA Pax unit, so that we could fit it into the closet and take exact measurements surrounding it.
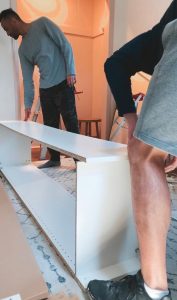
If you notice in the below photo, once we placed the PAX frame into the closet, we had to measure/cut out the existing shelf support board as well as the trim below to make the PAX frame FLUSH against the wall. This is key to make it look fitted into / custom to the space. Here’s photos of the measuring and cutting of the existing boards:
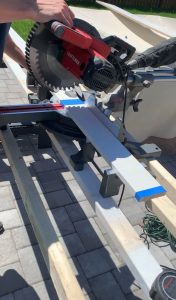
Now we had to create a second shelf support using the primed 1″x4″ wood boards. Using the measurements just taken, we cut them down to size to leave space for the PAX frame in the center. (Pro tip: Use painters tape on where you cut so the edge doesn’t splinter !)
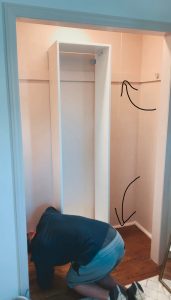
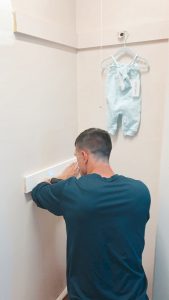
Once the boards were cut to size, we used wood screws to attach them into the wall. Nails can also be used. To get a good height, I hung a piece of baby clothes (see below image) to see how high I wanted this shelf/rod to be below the one above it. Make sure to leave a little extra space because the shelf does sit on top of this board. If you’re creating an adult closet and not a baby/ kids, you likely will not need this lower shelf/rod and can skip this step.
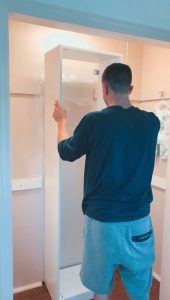
Once all of the shelf support boards were in place, we fit the IKEA PAX unit into place. It fit snugly in the middle! Meaning our measurements were correct.
Then we measured the space for the shelves to fit on top of the support boards, and cut them down to size as well. This is what it looked like once those were installed:
We assembled and then added the IKEA Komplement drawers and shelves to the PAX unit:
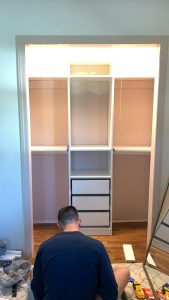
And finally, installed the extendable closet rods underneath shelves – right into the side of the PAX unit and the support along the wall. Make sure your screws are short enough that they will NOT break through the other side of the unit. Our extendable rods came with shorter screws, but if we hadn’t checked it could have ruined the inside.

Here’s a few close ups of how the rods / supports / shelves sit and work together:
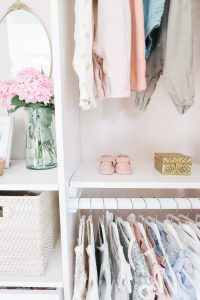
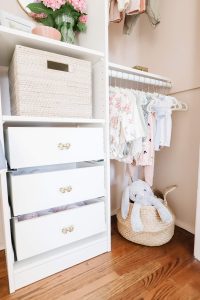
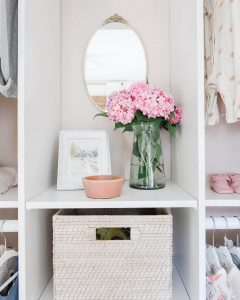
The last step was to touch up paint, add the drawer hardware and then add organizational baskets/decor and all of baby girl’s clothes !
We decided to paint the back and closet side supports the pink color to blend in and the supports on the PAX unit itself we kept white to also blend in.
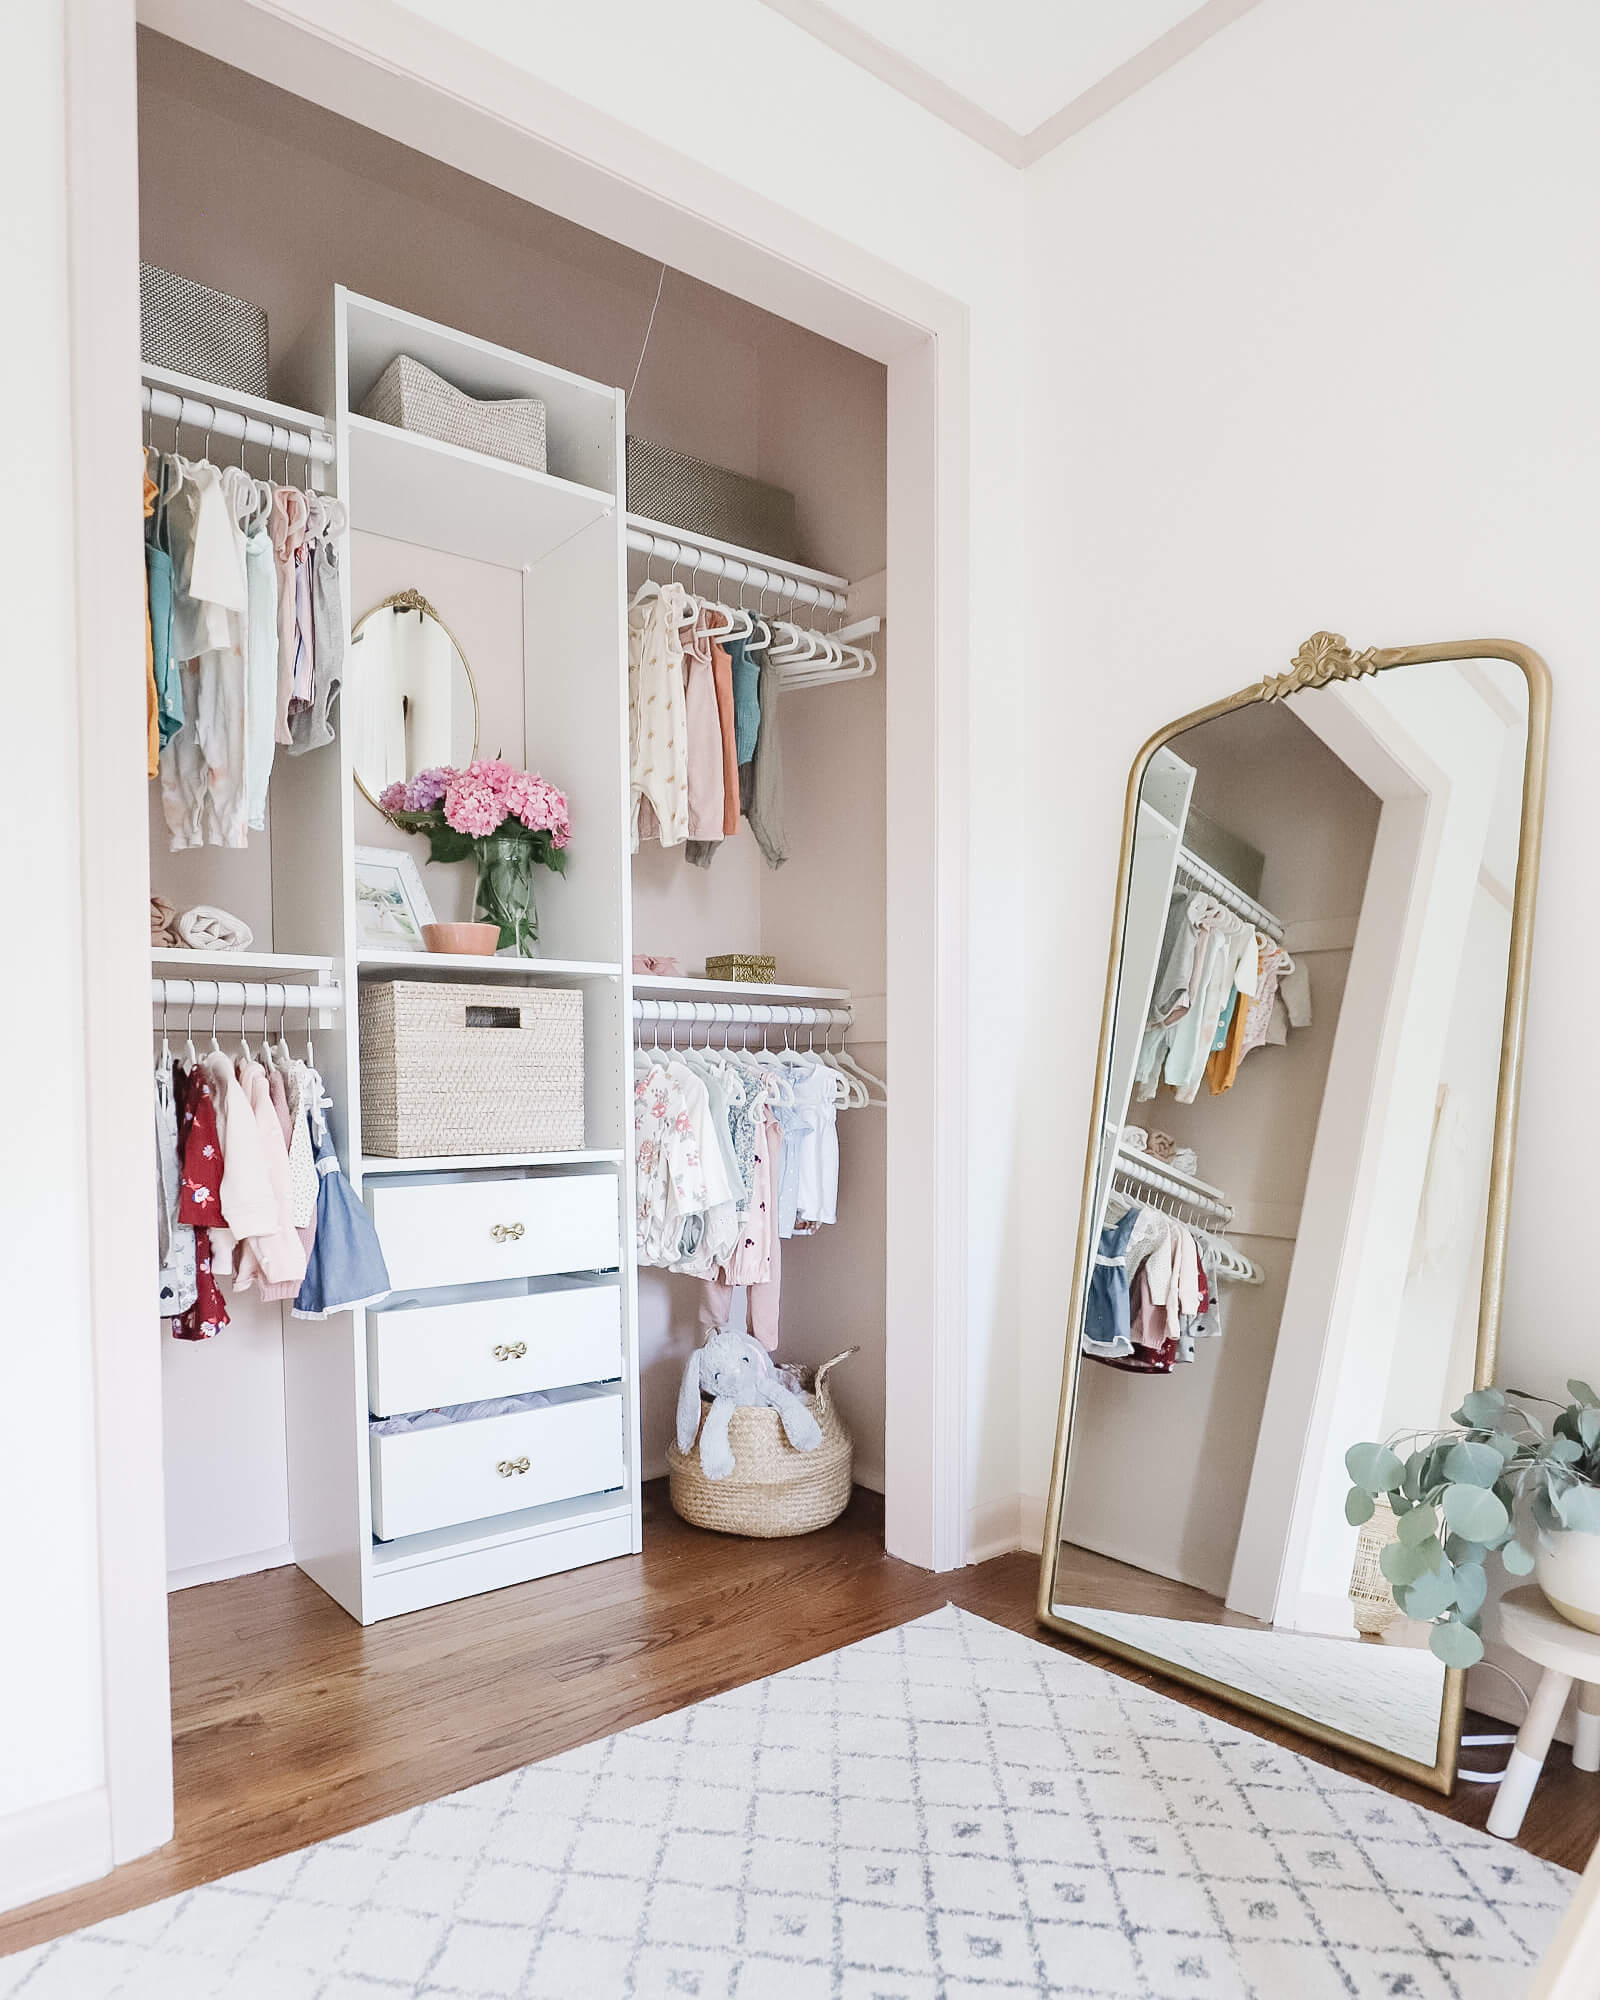
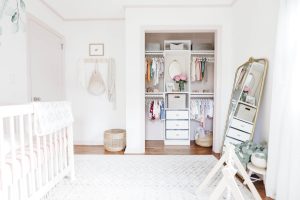
We ended up with an INCREDIBLE closet for our girl. All very inexpensively (this typically could go for $1K custom install!). What’s great is that you can be flexible with where you want the shelves/ rods to go. And there are different size PAX units to fit many different kinds of closets.
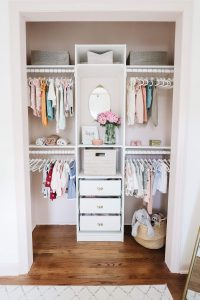
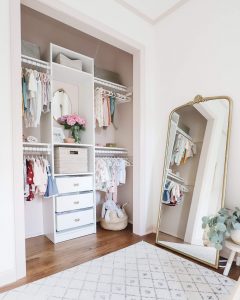
I get asked a lot if it’s annoying not having doors on the closet. For me, it is not! It’s not difficult to keep this closet organized (since these are Saylor’s ‘nicer’ clothes that are hung). And the fact that it is open is incentive for me to keep it maintained 🙂 We could have easily added doors to it but with how clean and well merchandised the custom closet looks, it is a nice view in the nursery.
Leave any questions in the comments. I hope you found this How To write up helpful !
Baby girls closet looks amazing! How much did it cost you total?
How much did all of this cost?
I’m curious – what were the dimensions of your closet?
It is a 6 foot wide closet!