DIY Whimsy Birds Wall Stencil for My Guest Bedroom
Zack and I have a guest bedroom on the second floor of our home that had been relatively untouched since we moved in last year. Now that our main floor was for the most part furnished, we decided to tackle this room so that when we had guests over there would be a nice room for them to stay.
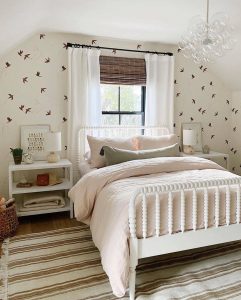
To start the project off, I starting pinning inspiration for the room and came across this bedroom done by House Seven Design (every room she does is so inspiring). I was floored by it – it looked so whimsical and beautiful. And interestingly our guest bedroom had a similar shape to it (low ceilings, window behind the bed). Immediately I knew I wanted to go for a similar look so that the room felt this special.
First step was to spackle, sand and paint the room a creamy white color. I chose Swiss Coffee by Behr (same as in my dressing room downstairs). So we went from a dark blue colored room to a light and bright room :

I started searching for wall stencils or decals that could help me recreate the look and I came across this bird stencil from Etsy. Not all the birds looked cute (lol), but I knew I would only use a couple (circled in yellow below). Also, I would have to add the bird’s “flight tails” myself by hand since the stencil did not include that.

Supplies:
- Wall Stencil
- Paint – I chose Valspar Humboldt Earth for a warm but muted brown
- Painters tape
- Stencil brush
- Baby paint brushes (for touch ups)
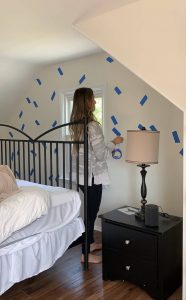
Step 1: I used painters tape to visualize where the birds would go and the direction they’d be facing. I also wanted to be comfortable with how many birds were on the wall first before committing. I didn’t want it to look overwhelming or too busy. The birds in the inspo pic are placed sporadically (no pattern to them), so I knew I had to place them in no formal pattern. I wound up putting a bunch of painters tape on the wall following the flow of my inspo pic, and then taking some off after seeing it looked a little too crowded.
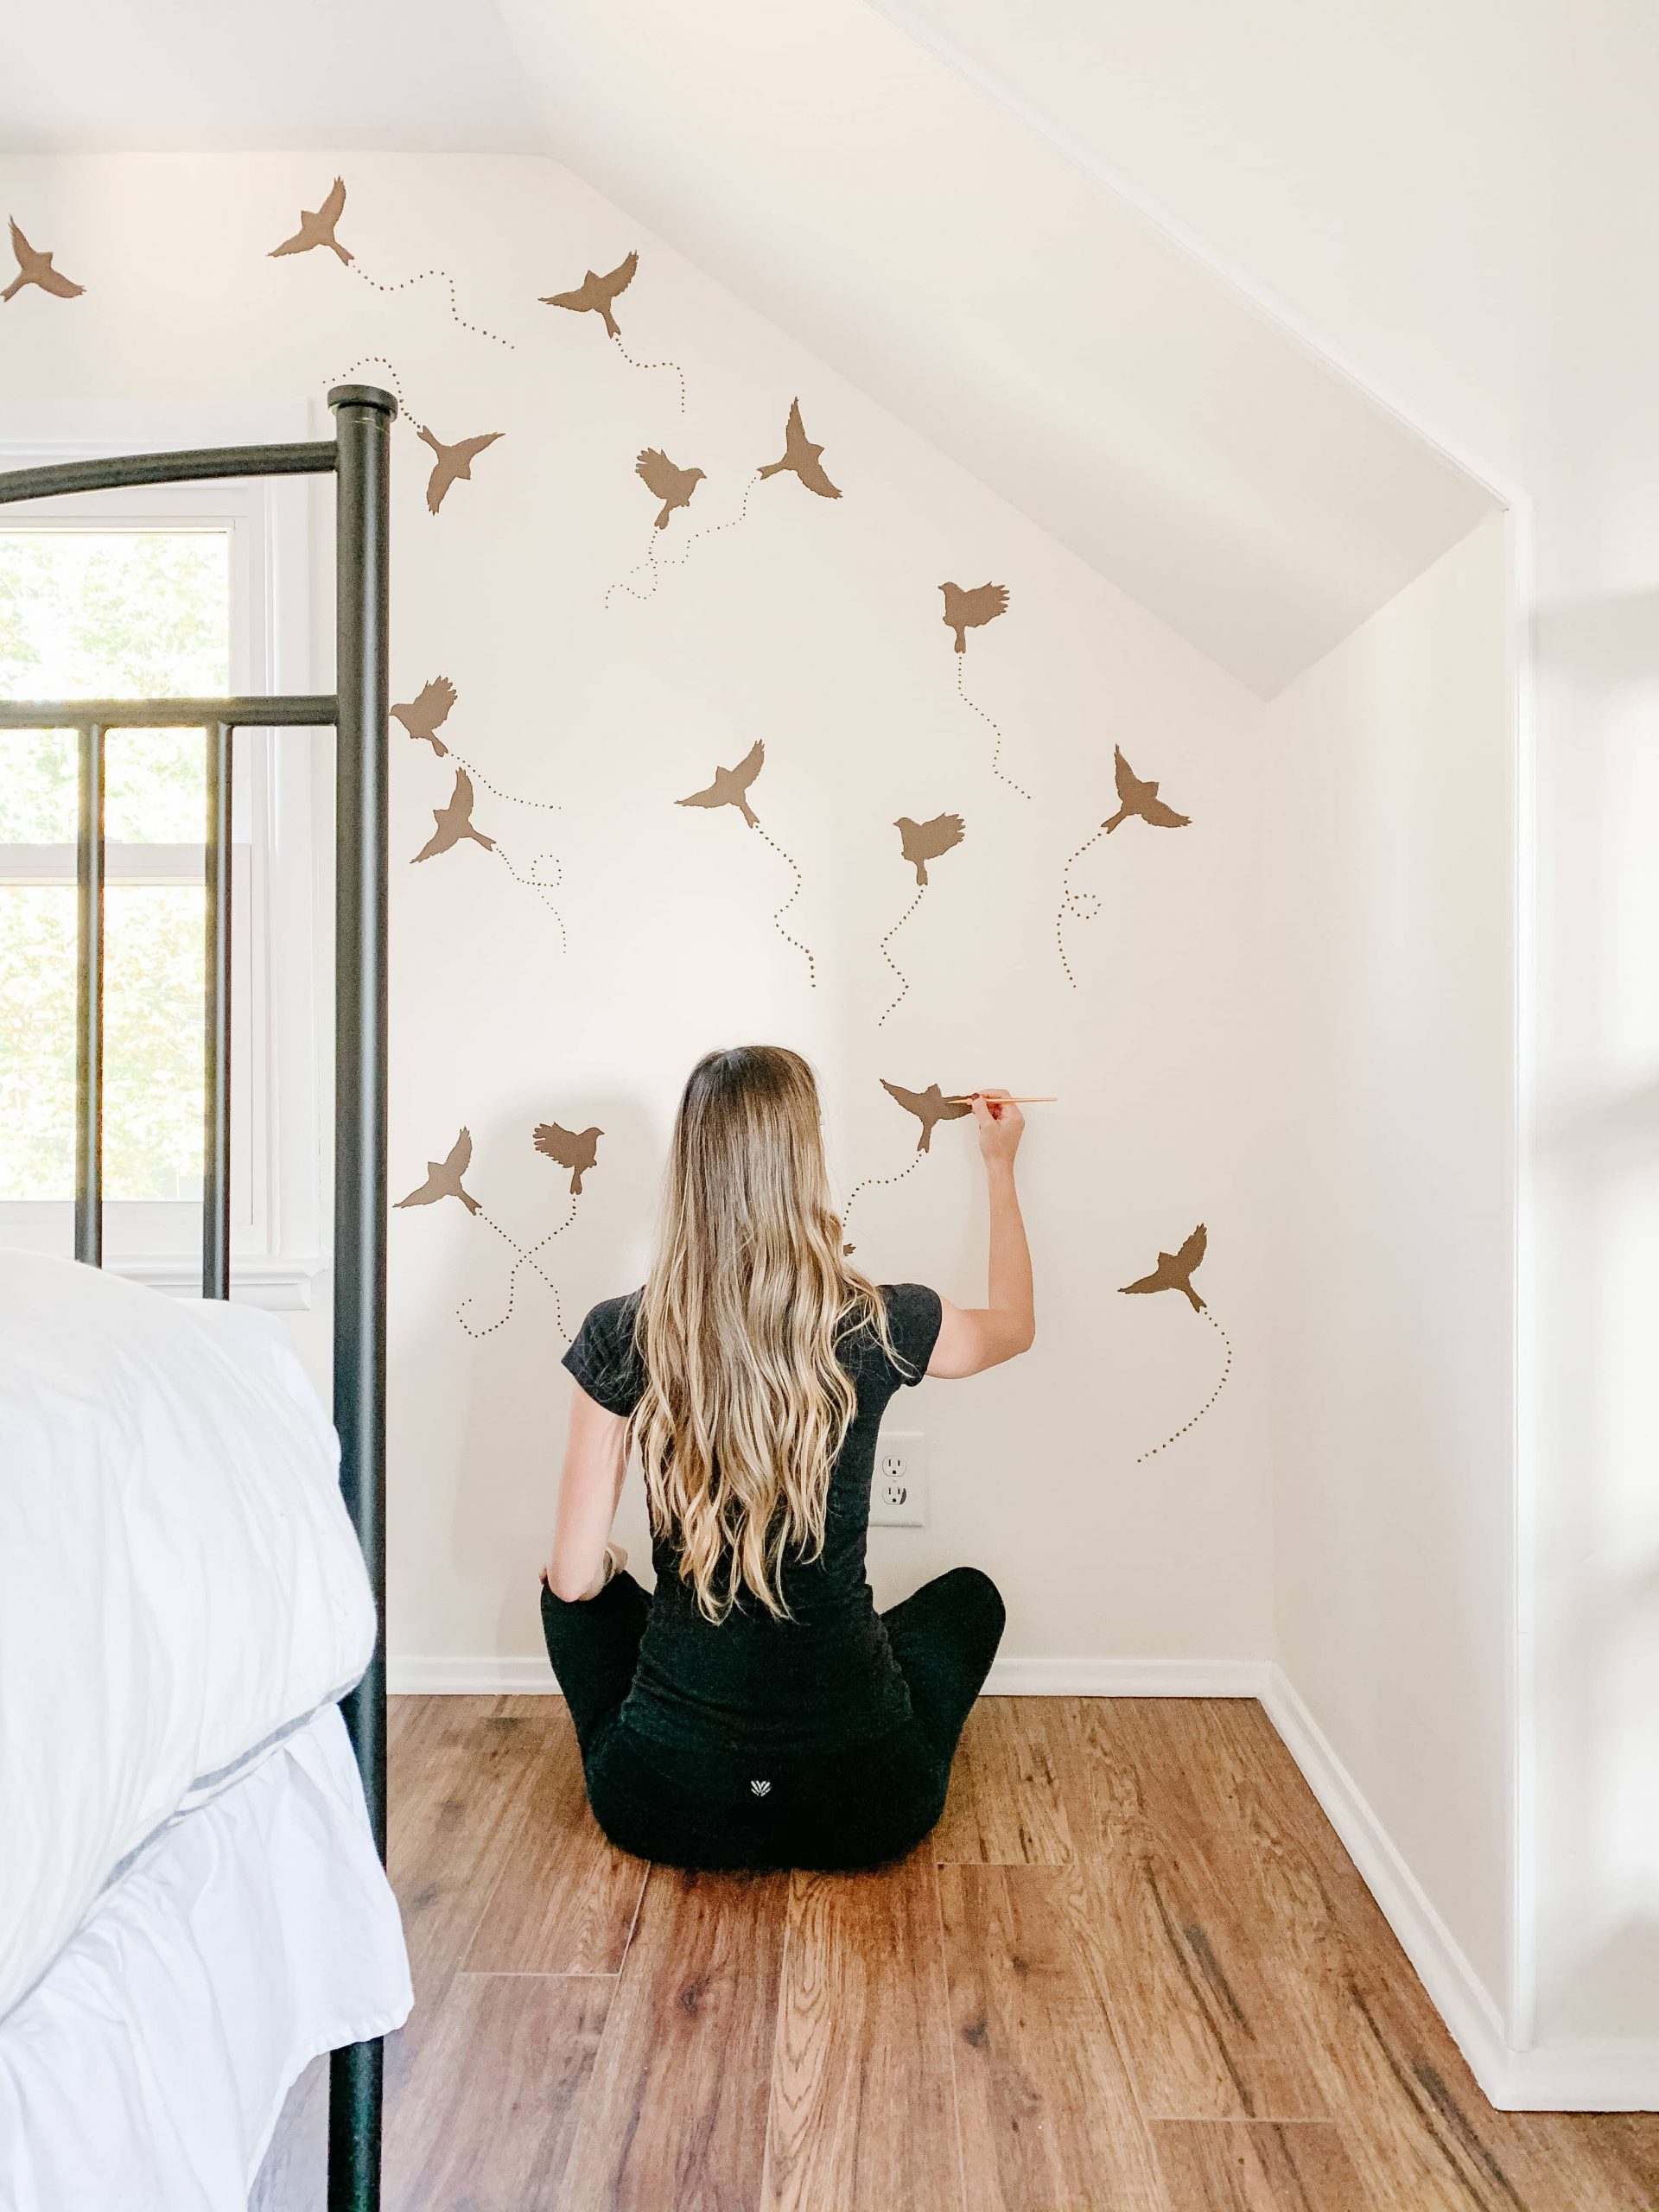
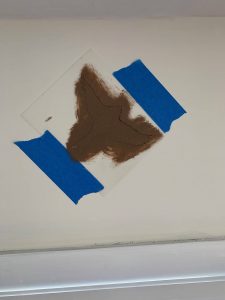
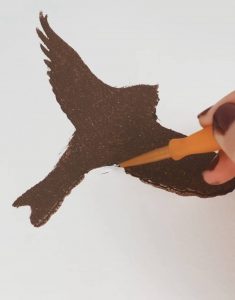
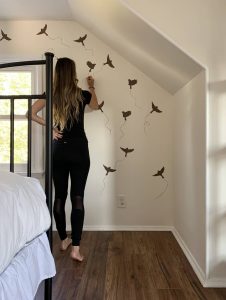
Step 2: I removed one of the placeholder tape birds and taped down the stencil in its place and painted using the stencil brush. I let it dry just a bit and then removed the stencil. It did not come out perfect, but I knew I could always touch up with the wall paint after. Then I continued on the same process for the rest of the birds, alternating between the two different types of birds I picked out.
Step 3: Touch ups! I got out the original wall color and used the baby brushes to touch up anywhere needed. At this point, I actually felt like one side of the wall was busier than the other so I wound up painting over one of the birds.
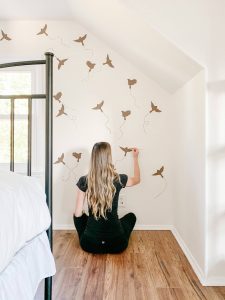
Step 4: I used the baby brushes and brown paint to draw little dots for the bird’s flight trail. They had to be big enough that you’re able to see the trail from a distance, but not too big. Also, in looking at the inspo pic, they had to go in different directions (up, down, left right), do circular loops and cross other’s paths in some cases. So I tried to be random with how the bird’s flight paths looked.
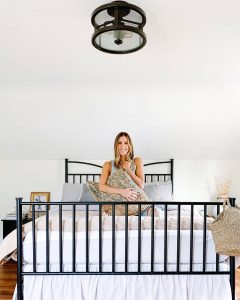
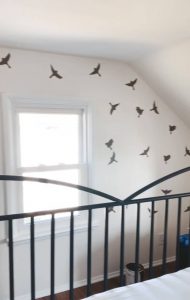
And that was it! I let the paint dry and took in how great it turned out! I was honestly a little surprised because I knew that this could go really wrong if I wasn’t careful. But I am so happy and proud of the result!
Next up in the guest bedroom, I need to draw up my design board and furnish / style it. More on that later..
G E T T H E L O O K :