Creating an Aesthetic iOS14 Home Screen
I’ve been seeing so many people create these aesthetically pleasing iPhone home screens with the new iOS 14 update, and after finally updating my phone I decided to give it a try!
I wound up watching this YouTube tutorial to show me how to do it. It gives a good visualization. Below in case you find it more helpful I listed the steps that I personally took to create this look.
I want to preface this with a few WARNINGS about making this change to your home screen:
- For any of the custom icons, it will always open the Shortcuts app first before opening the actual app which can be a little annoying. I think I’m getting used to it. But if that’s a deal breaker for you I don’t think this is worth your time !
- Since these are shortcuts, you will no longer have the red notification (1) next to your app when you have unread notifications. This could be a plus or minus for some people. For me I always hated seeing the red notifications.
- This process can take you hours! I think it took me about 2 from start to finish, AND I downloaded an icon set so I wasn’t “creating” individual icon images which would definitely take longer.
STEP-BY-STEP GUIDE TO CUSTOMIZING YOUR IOS14 HOME SCREEN:
Apps you need: Shortcuts, Widgetsmith (both free in App Store)
- First find the background and icons you want to use and save them to your Photos on your phone.
- For the background, I used Google Search and Pinterest and typed in “aesthetic iPhone background” to find my dreamy beach scene.
- For the icons, I downloaded these neutral ones from Etsy for $2. InspiredByThis blog also has free icons that you can download in blush, rust, baby blue, bright pink, etc. !
- Update your home screen to your desired background and then clear off the first page of your home screen by moving those apps to another page. It’s easier to visualize what you want to do with a blank slate.
- To create the custom icons, go to the shortcuts app, click the “+” at the top.
- Click “Add Action”
- Search for “Open App” and select that
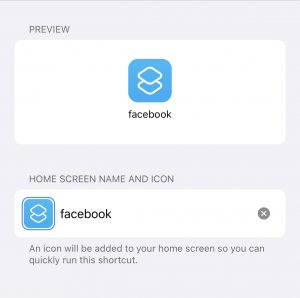
- Click “Choose” and select the app that you want to customize first (I.e. Facebook)
- Click the three dots in the top right corner “•••”
- Type in the “Shortcut Name” (I did “facebook” in all lowercase)
- Click “Add to Home Screen”
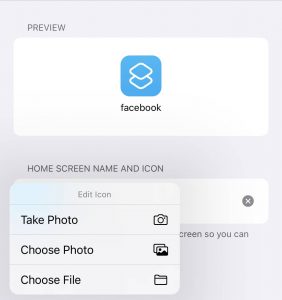
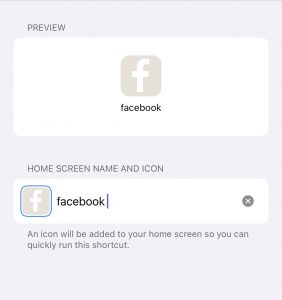
- Now it will preview what the icon will look like at the top. You want to click “New Shortcut” in the “Home Screen Name and Icon” box and name it again (“facebook”). Then click the icon to the left of that and select “Choose Photo” to choose your icon photo. Select the icon image you saved to your photos that corresponds.
- Now the Preview at the top should look how you want it to – click “Add” in the top right corner. It will let you know it’s been added to the home screen. Click “Done” and exit out to check, it’s probably at the end of your apps. You can hold and drag it to the first page of your Homescreen.
- Repeat this for all of the apps you want to customize! (Time consuming part)
- Now to create the new larger icons, called Widgets, open the Widgetsmith app.
- Click to add a Small, Medium or Large Widget depending on what you’re looking for. I added a Medium and a Small widget for my home page.
- Click the Widget you just added and it will open up a screen – click the default widget again and this is where you can customize by Style (Time, Date, Calendar, Weather, Reminders, etc.) and then change Font, Font Color (tint color), Background Color and Border Color. I opted for no border and made the background color of my widgets match the icons but changed the font to a gray color so it went well with the others but didn’t match exactly.
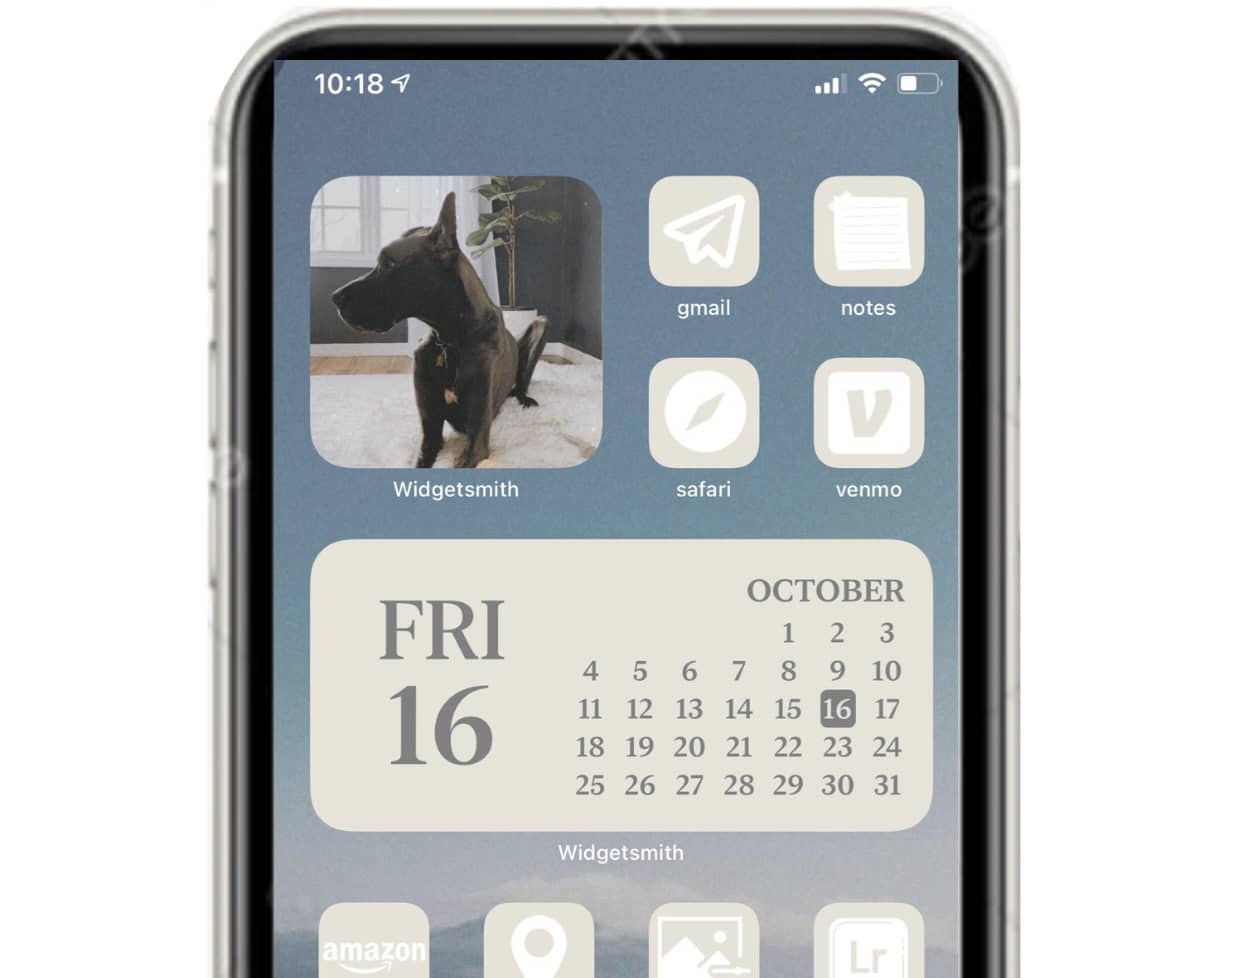
- Also note under “Style” there is a Custom section where you can select a Photo from your phone! This is how I incorporated the Sonny photo and if you have other pretty photos with quotes written on them, etc. you can incorporate them here.
- Once you’re done editing, click “Save” and exit out of the Widgetsmith app. On your home screen, click/hold down on any app to get to the “Edit Homescreen” function and in the top left corner a plus sign “+” should appear.
- Scroll all the way down through your widgets and find the Widgetsmith app, open it and select the size of the Widget you just created and click “Add Widget”. That will pop the widget into your home screen where you can move it now!
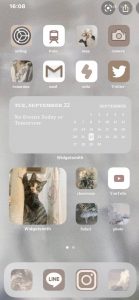
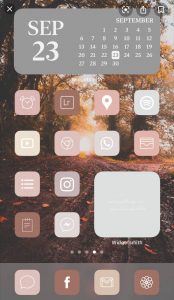
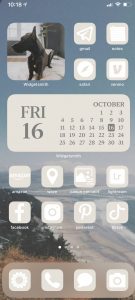
So, after customizing all of the icons using Shortcuts and adding the custom widgets using Widgetsmith, this is what I ended up with! Still playing around with it and I need to organize the REST of my apps now. But overall I am happy with it and am getting used to the “Shortcuts” app always opening. When my apps are in order, my whole life feels in order !! 🙂
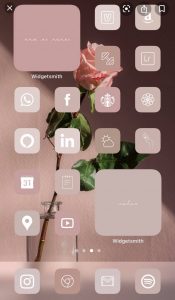
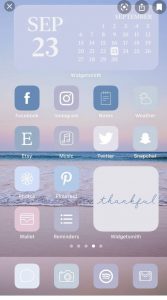
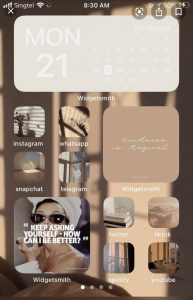
Here’s some more examples, found on Google images, to give you more inspo for creating your own aesthetic iPhone background: