DIY String Light Planters for Our Backyard Patio
When we first went under quarantine back in March this year, Zack and I were obviously in shock. No leaving the house, working from home, 24/7 together in lock down.. and no end in sight?? Lol. After a while we realized we had to find things to keep ourselves busy. We had just put down pavers in our yard the month before, and my mind was thinking of ways to make that space even more special going into the summer.
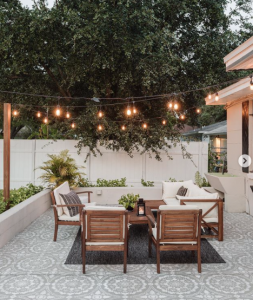
I came across this pin on Pinterest from Jenna Sue Design and immediately I knew I needed our yard to sparkle just like hers. So obviously I had to convince Zack to try out these DIY String Light Planters so we could recreate the look!
Supplies we picked up at Lowe’s:
- 4″ x 4″ x 8 ft. lumber
- 4 wood planters
- 6 50 lb. bags of quick dry cement
- 12 “L” brackets
- 4 baby hooks
Supplies we had on-hand:
- screws
- wood stain & brushes
- black spray paint
- leveler
- rocks
I also ordered two of these commercial grade string lights from Amazon.
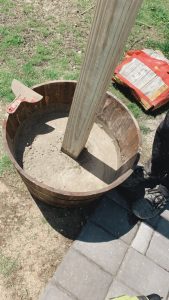
So first, for each planter we stood the lumber up in the center, used a leveler to make sure it was standing up straight, and then drilled the “L” brackets into the lumber and the base of the planter to hold it in place. I recommend at least 3 sides of the lumber to make sure it stays standing up.
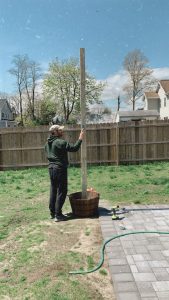
Then, I held the lumber in a straight position (using the leveler) while Zack poured in the quick dry concrete and water from the hose. Just enough water to get all the concrete wet and in a good mixture. It was a good idea to hose while pouring in the cement so that it mixes from bottom to top. (If you pour water on the cement after it’s poured, you’re really only getting the top and it will be hard to mix it all together.) Then I stood there for 10 minutes or so holding the lumber standing straight (using the leveler) just to be 100% sure that the post didn’t lean while the cement was drying. The cement did dry pretty quickly.
Once the cement was dry, Zack and I stained the posts so that they looked like a finished wood color. We had to use a ladder to get the top of the posts. You probably CAN stain the posts before you put them in the cement, but we didn’t have a good spot to lay them so that they could dry on all sides, so we thought this way worked better for us.
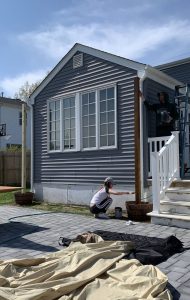
We waited 24 hours for the cement and stain to fully dry before going onto the next steps.
Next, the hooks we found at Lowes only came in white so I spray painted those black to correspond with the other colors in our yard. Zack easily screwed these in at the top of each post so that they could hold the string lights.

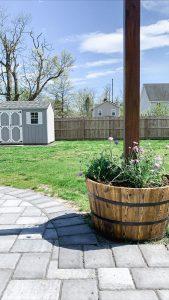
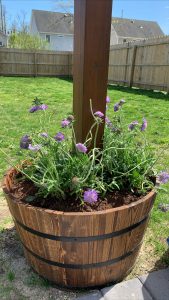
That day, I did another trip to Lowes and picked up soil and flowers to plant inside the planters. Before planting, I had Zack drill 4 little holes into the planters right above where the cement started to allow for drainage (so water can escape the planter!). Then I put some chunky rocks at the bottom to allow for even more drainage. The last thing you want is your flowers dying from rotting roots! And finally, I added the soil and flowers.


And here’s how it looked !:
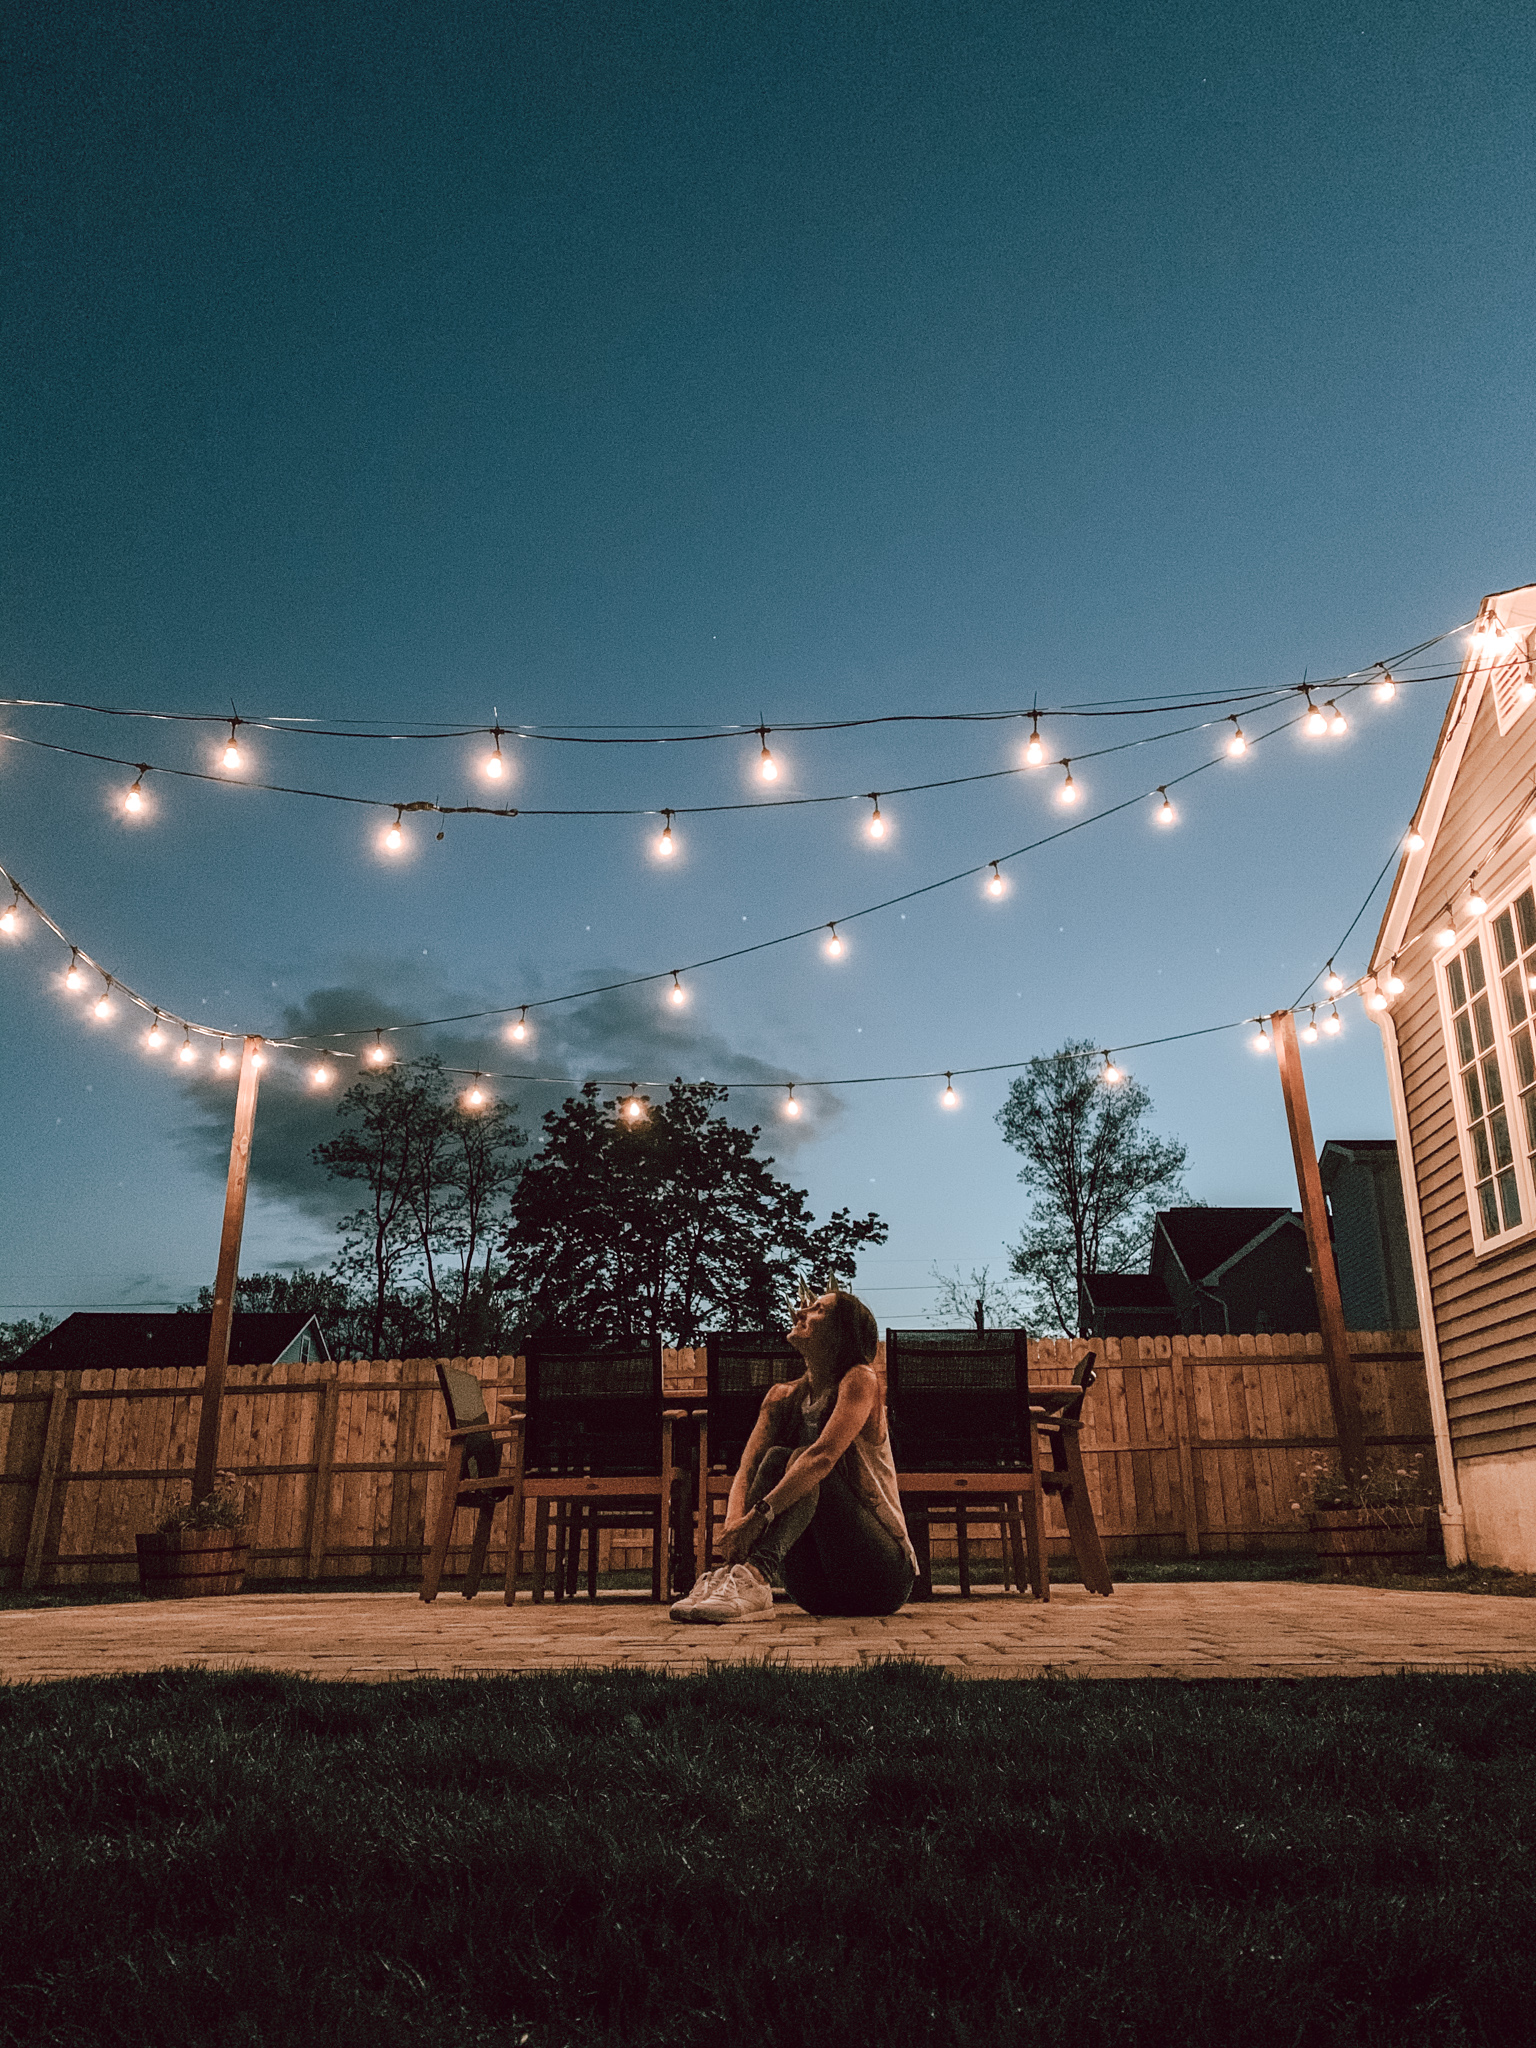
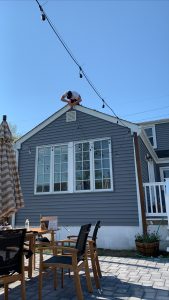
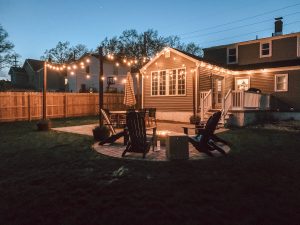
So next thing to figure out was how we wanted to string the lights. Originally we wanted to do a grid — but we learned very quickly that you cannot hang the light strings from each other – they need the support of the post! So the plan quickly changed to as follows, allowing for support for each string light from either a post OR the side of the house. For the lights on the side of the house, we used Christmas light hangers.
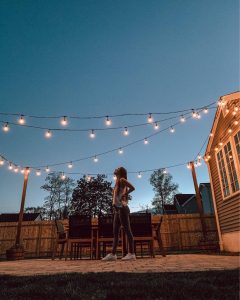
Once all was said and done, I was in awe ! The lights that we picked out were so magical and made the whole patio have a beautiful warm glow to it. Not too bright and not too dim. We enjoyed nights on the patio under the lights all summer long! We’d hang out by the fire pit with a glass of wine listening to music for hours. Totally worth the effort.

G E T T H E L O O K:

Let me know what you think in the comments and feel free to ask questions about anything I missed !