New Year, New Kitchen: Editing and Restoring Charm, without a Renovation
If you’ve ever stood in your kitchen thinking, “I love the bones, but it just feels tired,” well that was me.
Our kitchen is original to our 1950s cape cod home, and while I adore the character, it definitely needed a refresh. Some cabinet hinges were falling off, paint chips were everywhere and our concrete countertops were rough and driving us crazy. But with zero interest in a full renovation (hello budget, time, and sanity), I focused on no-reno updates that could make our kitchen more warm/welcoming, and more our style.
And honestly, I’m shocked at how different it feels now.
BEFORE:

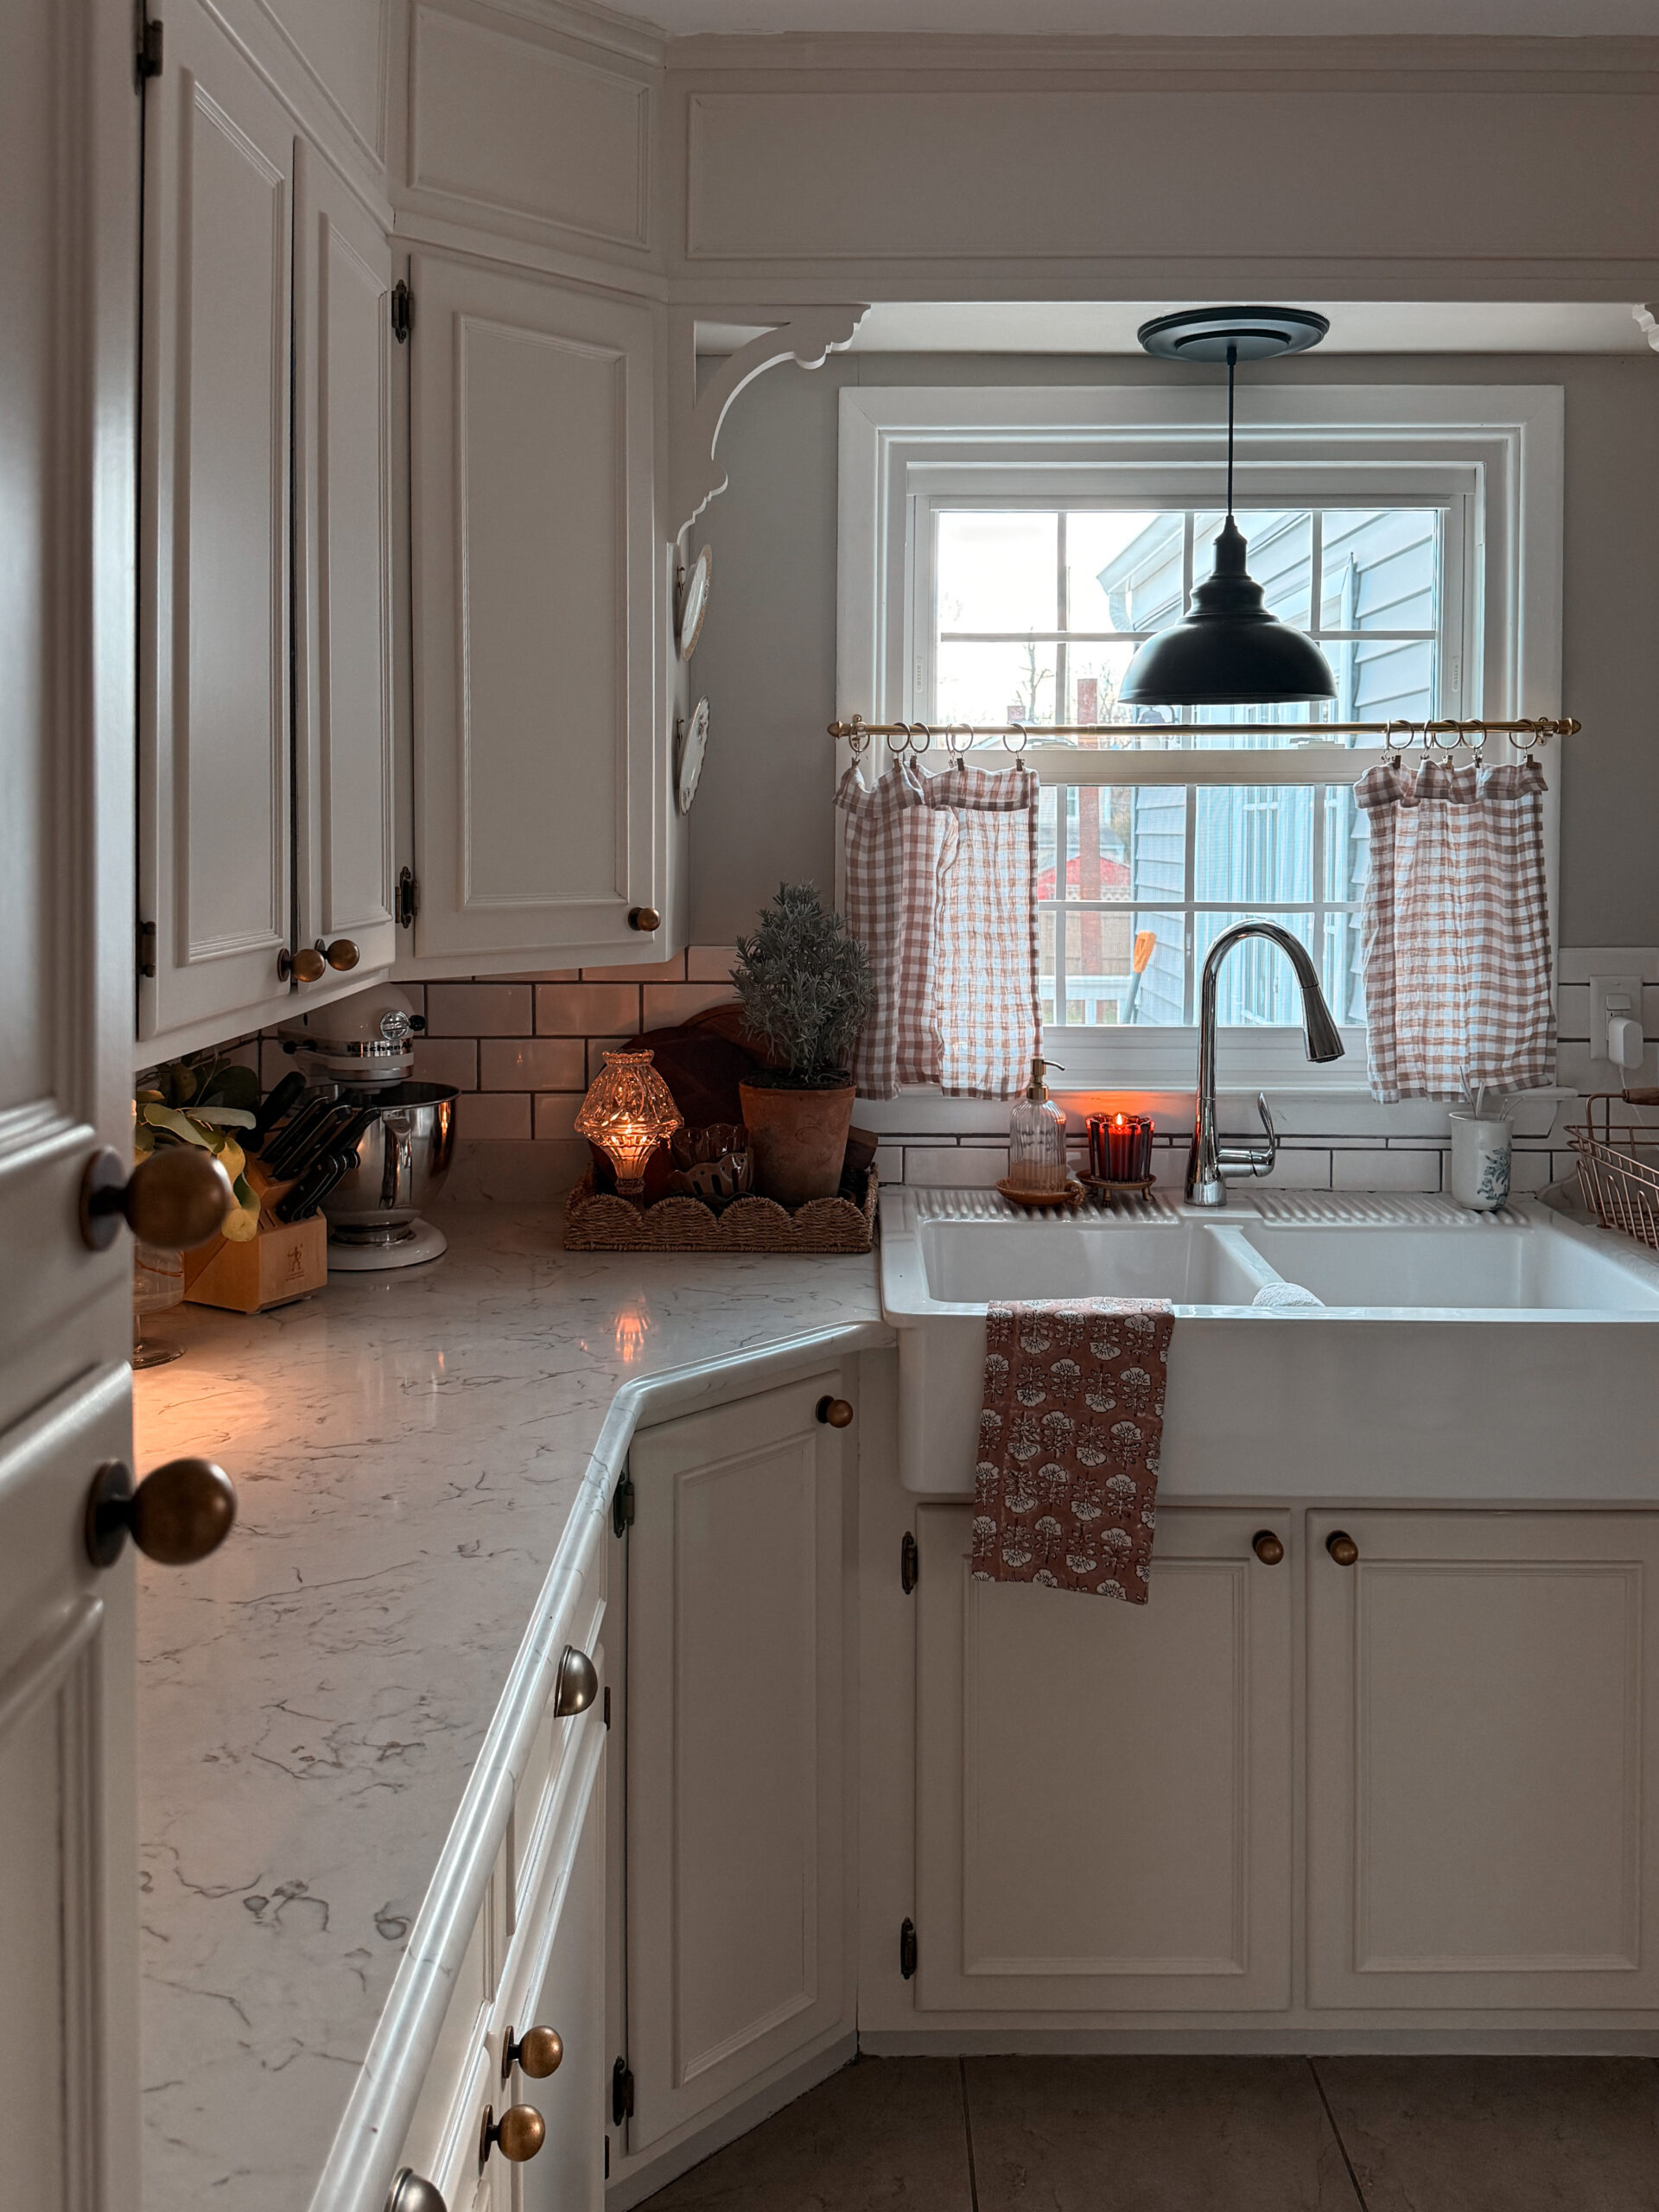
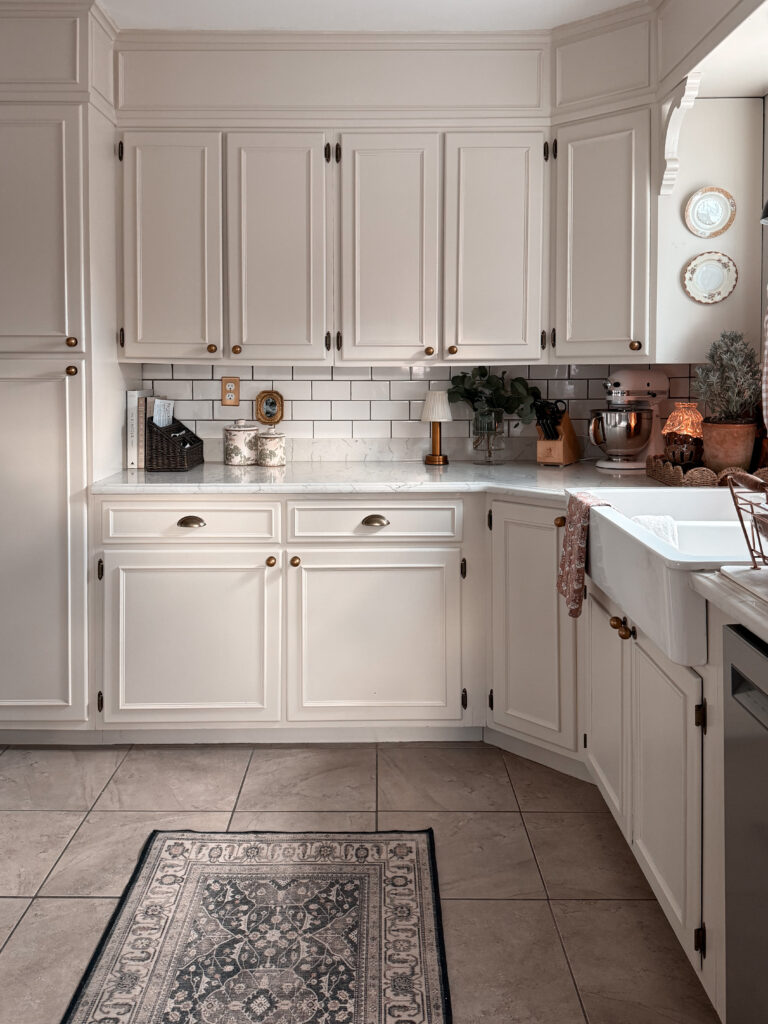
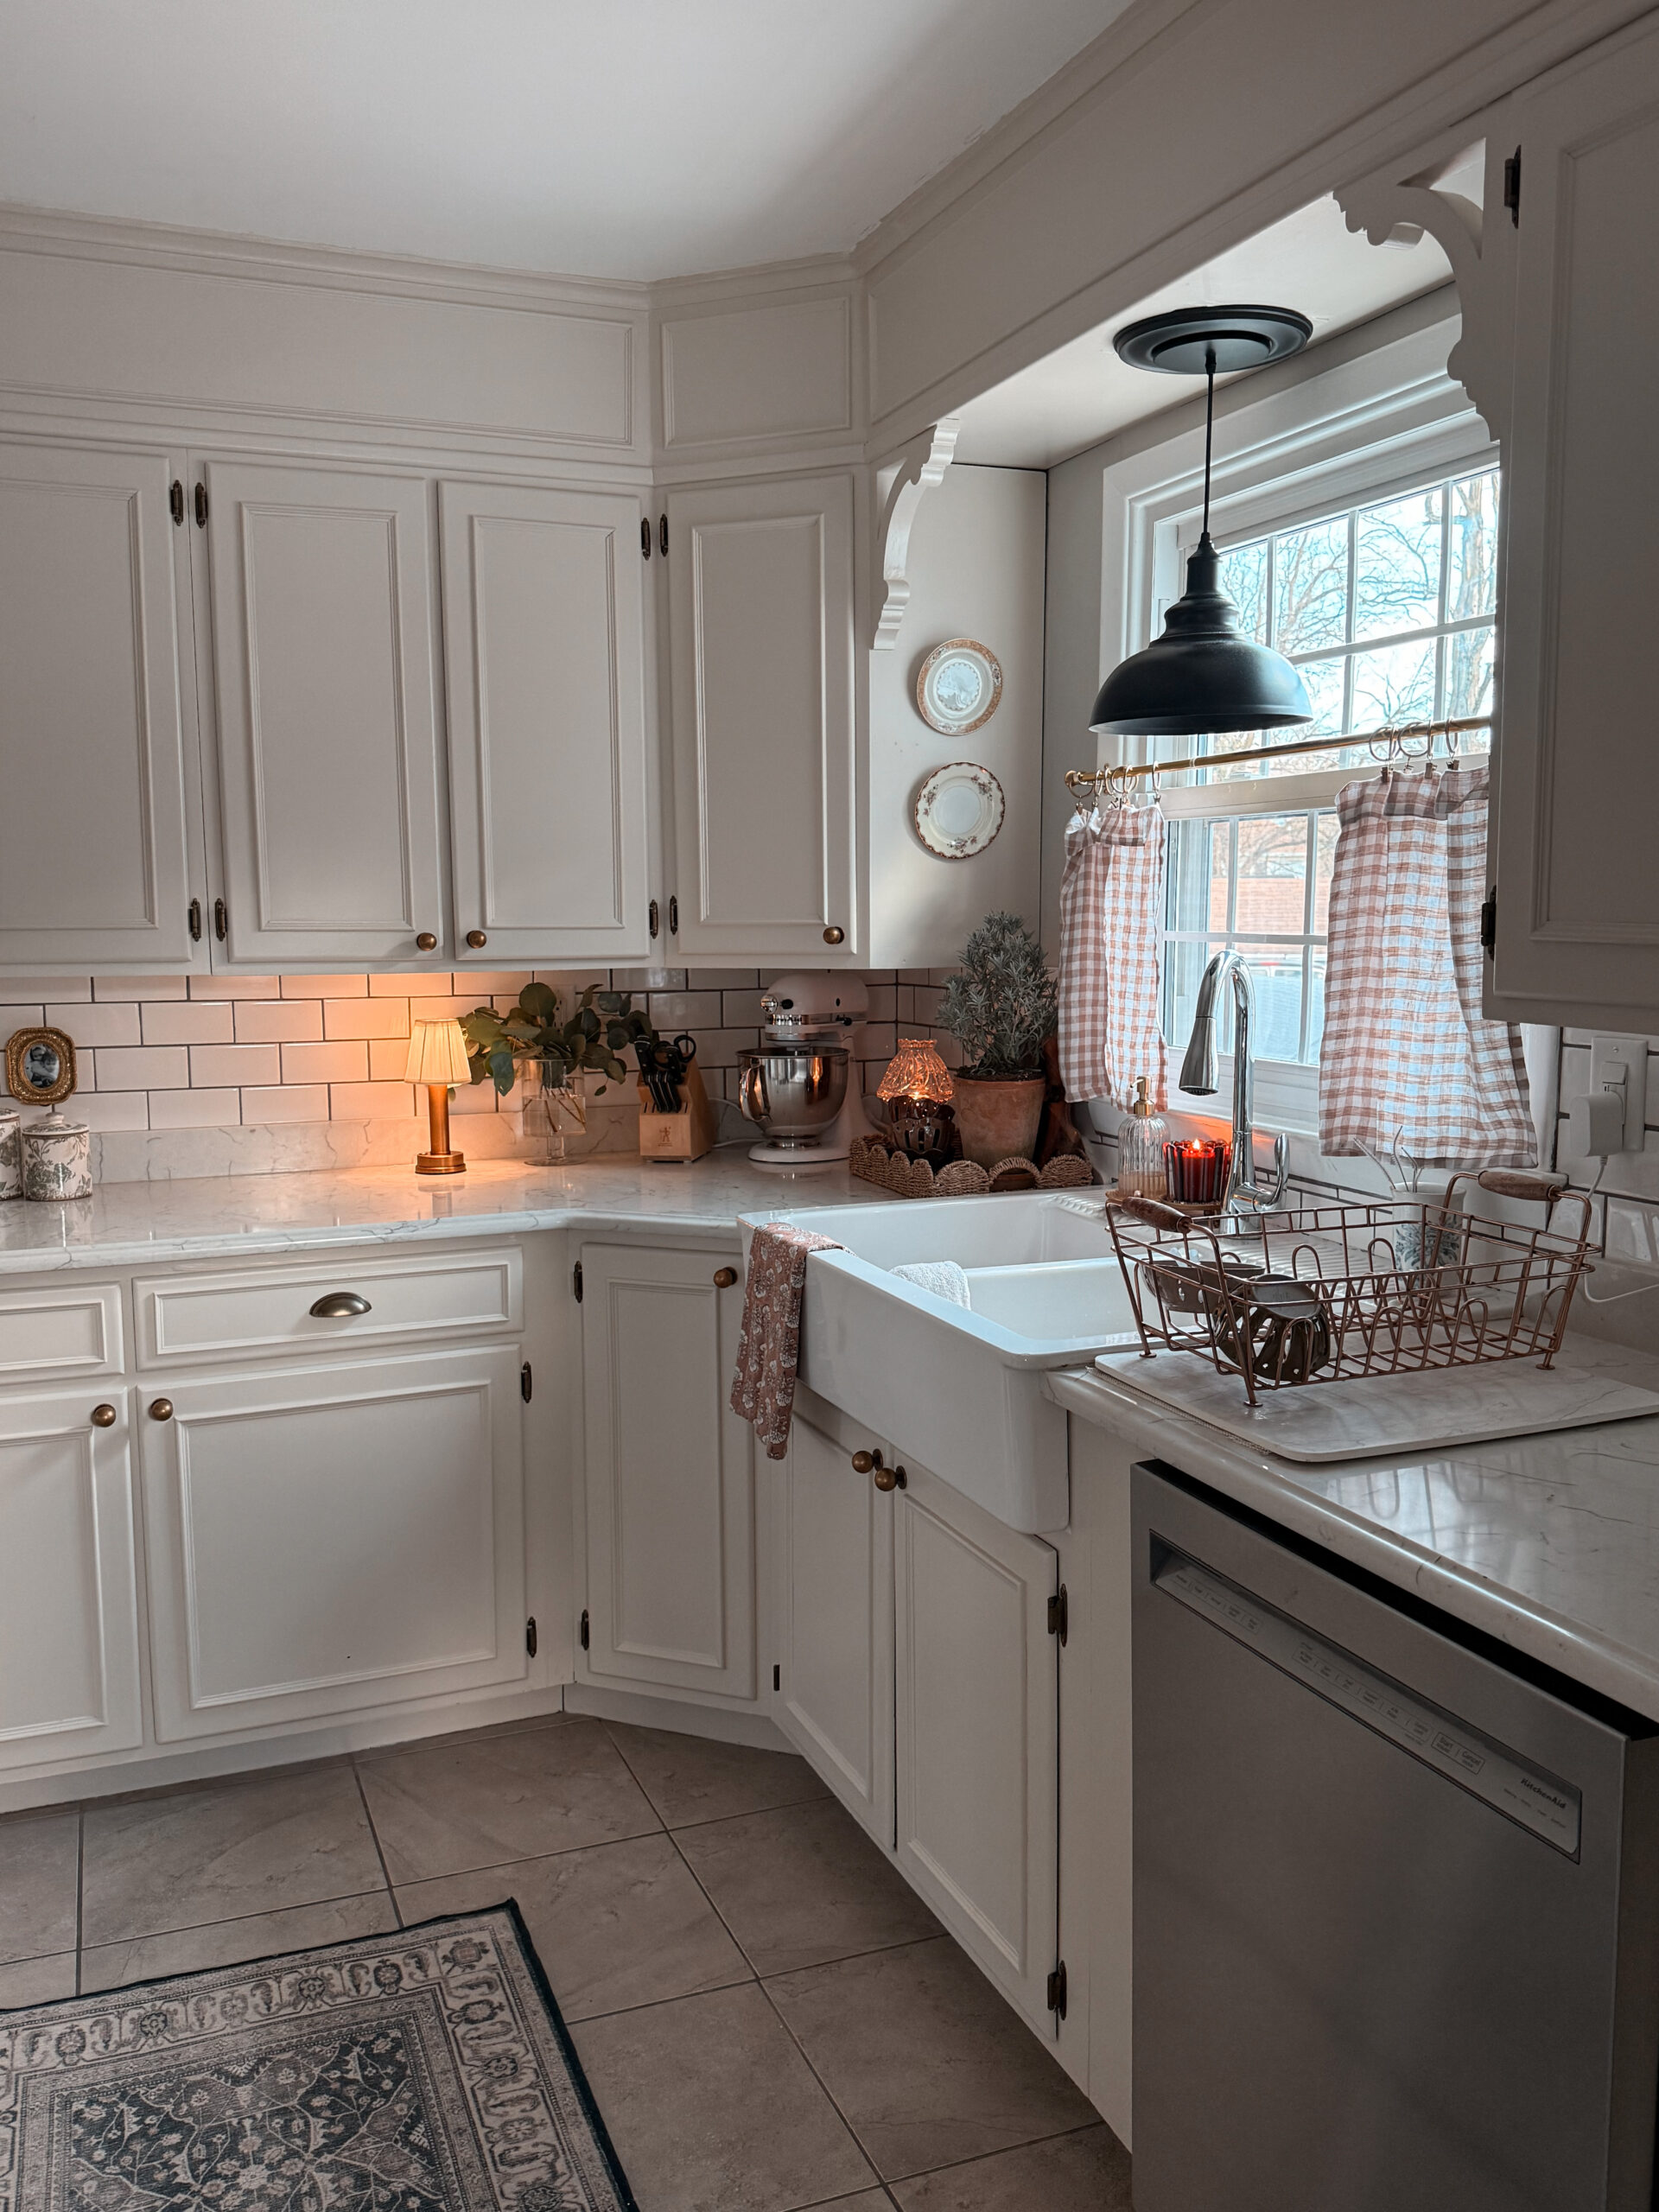
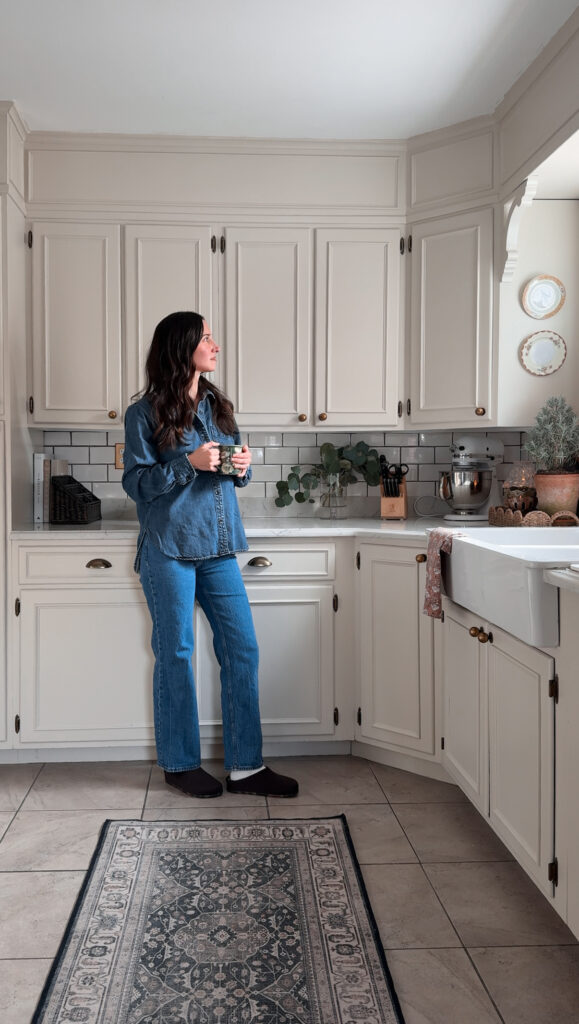
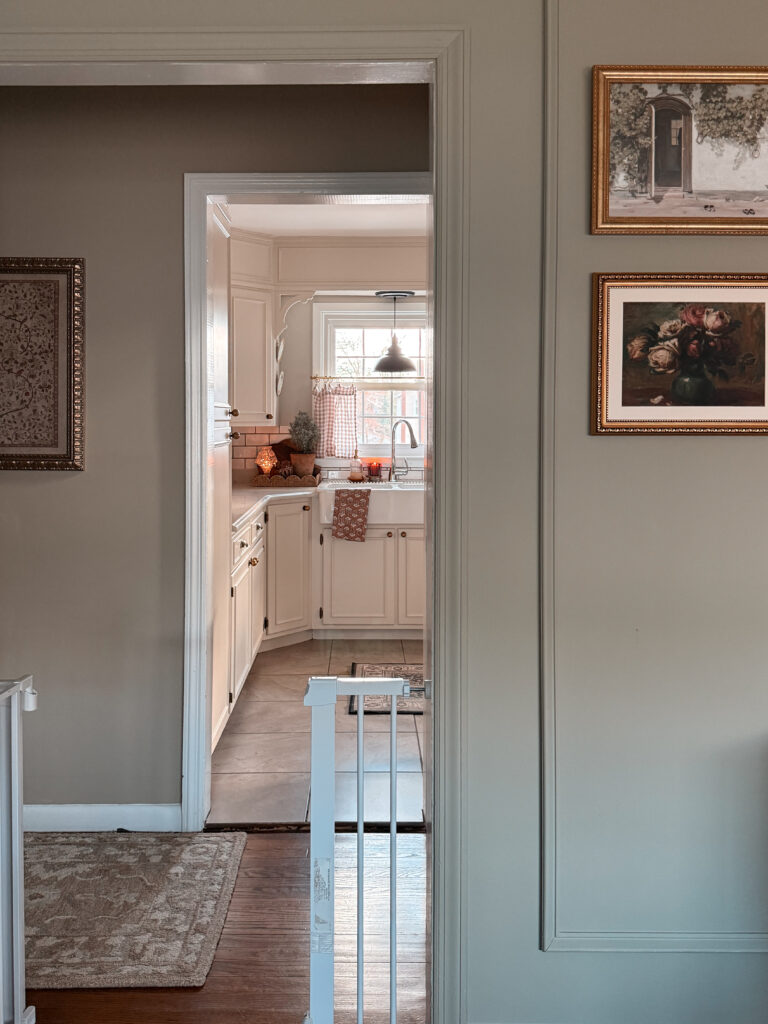
AFTER:
I will say we hired out for all of the work! We don’t have the time or the patience to DIY, and we wanted to make sure it was done properly.
Here’s everything we did, from countertops to cabinet details, who we hired, plus where you can shop similar styles.
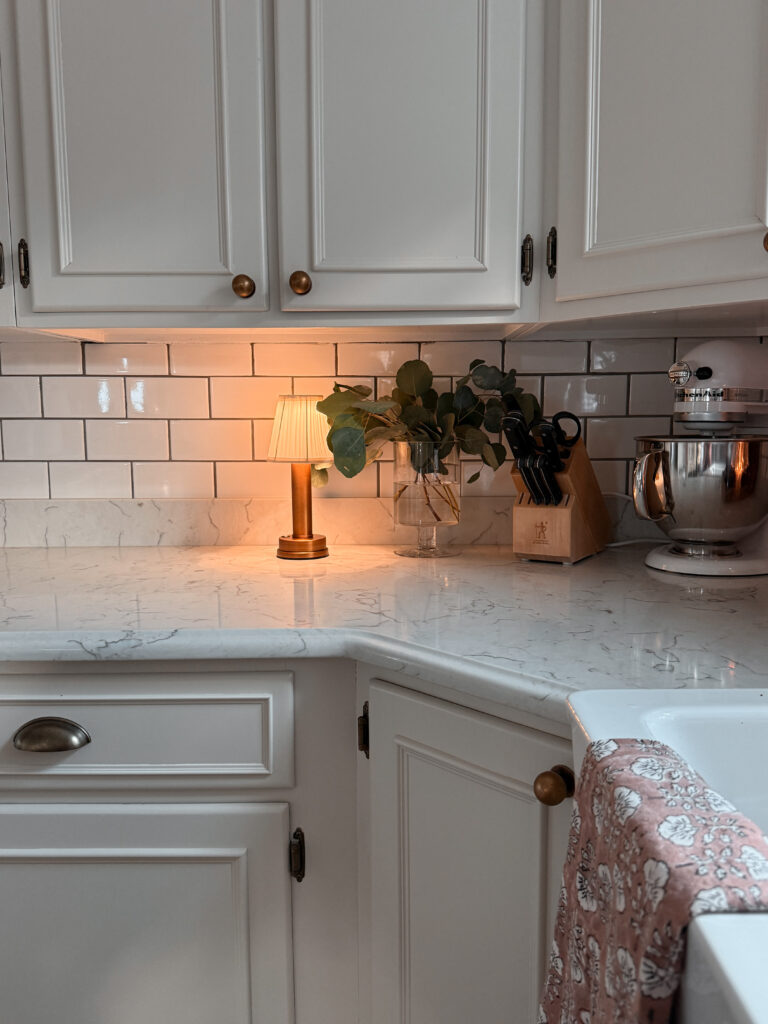
The Biggest Game Changer: New Countertops
Let’s start with the star of the show.
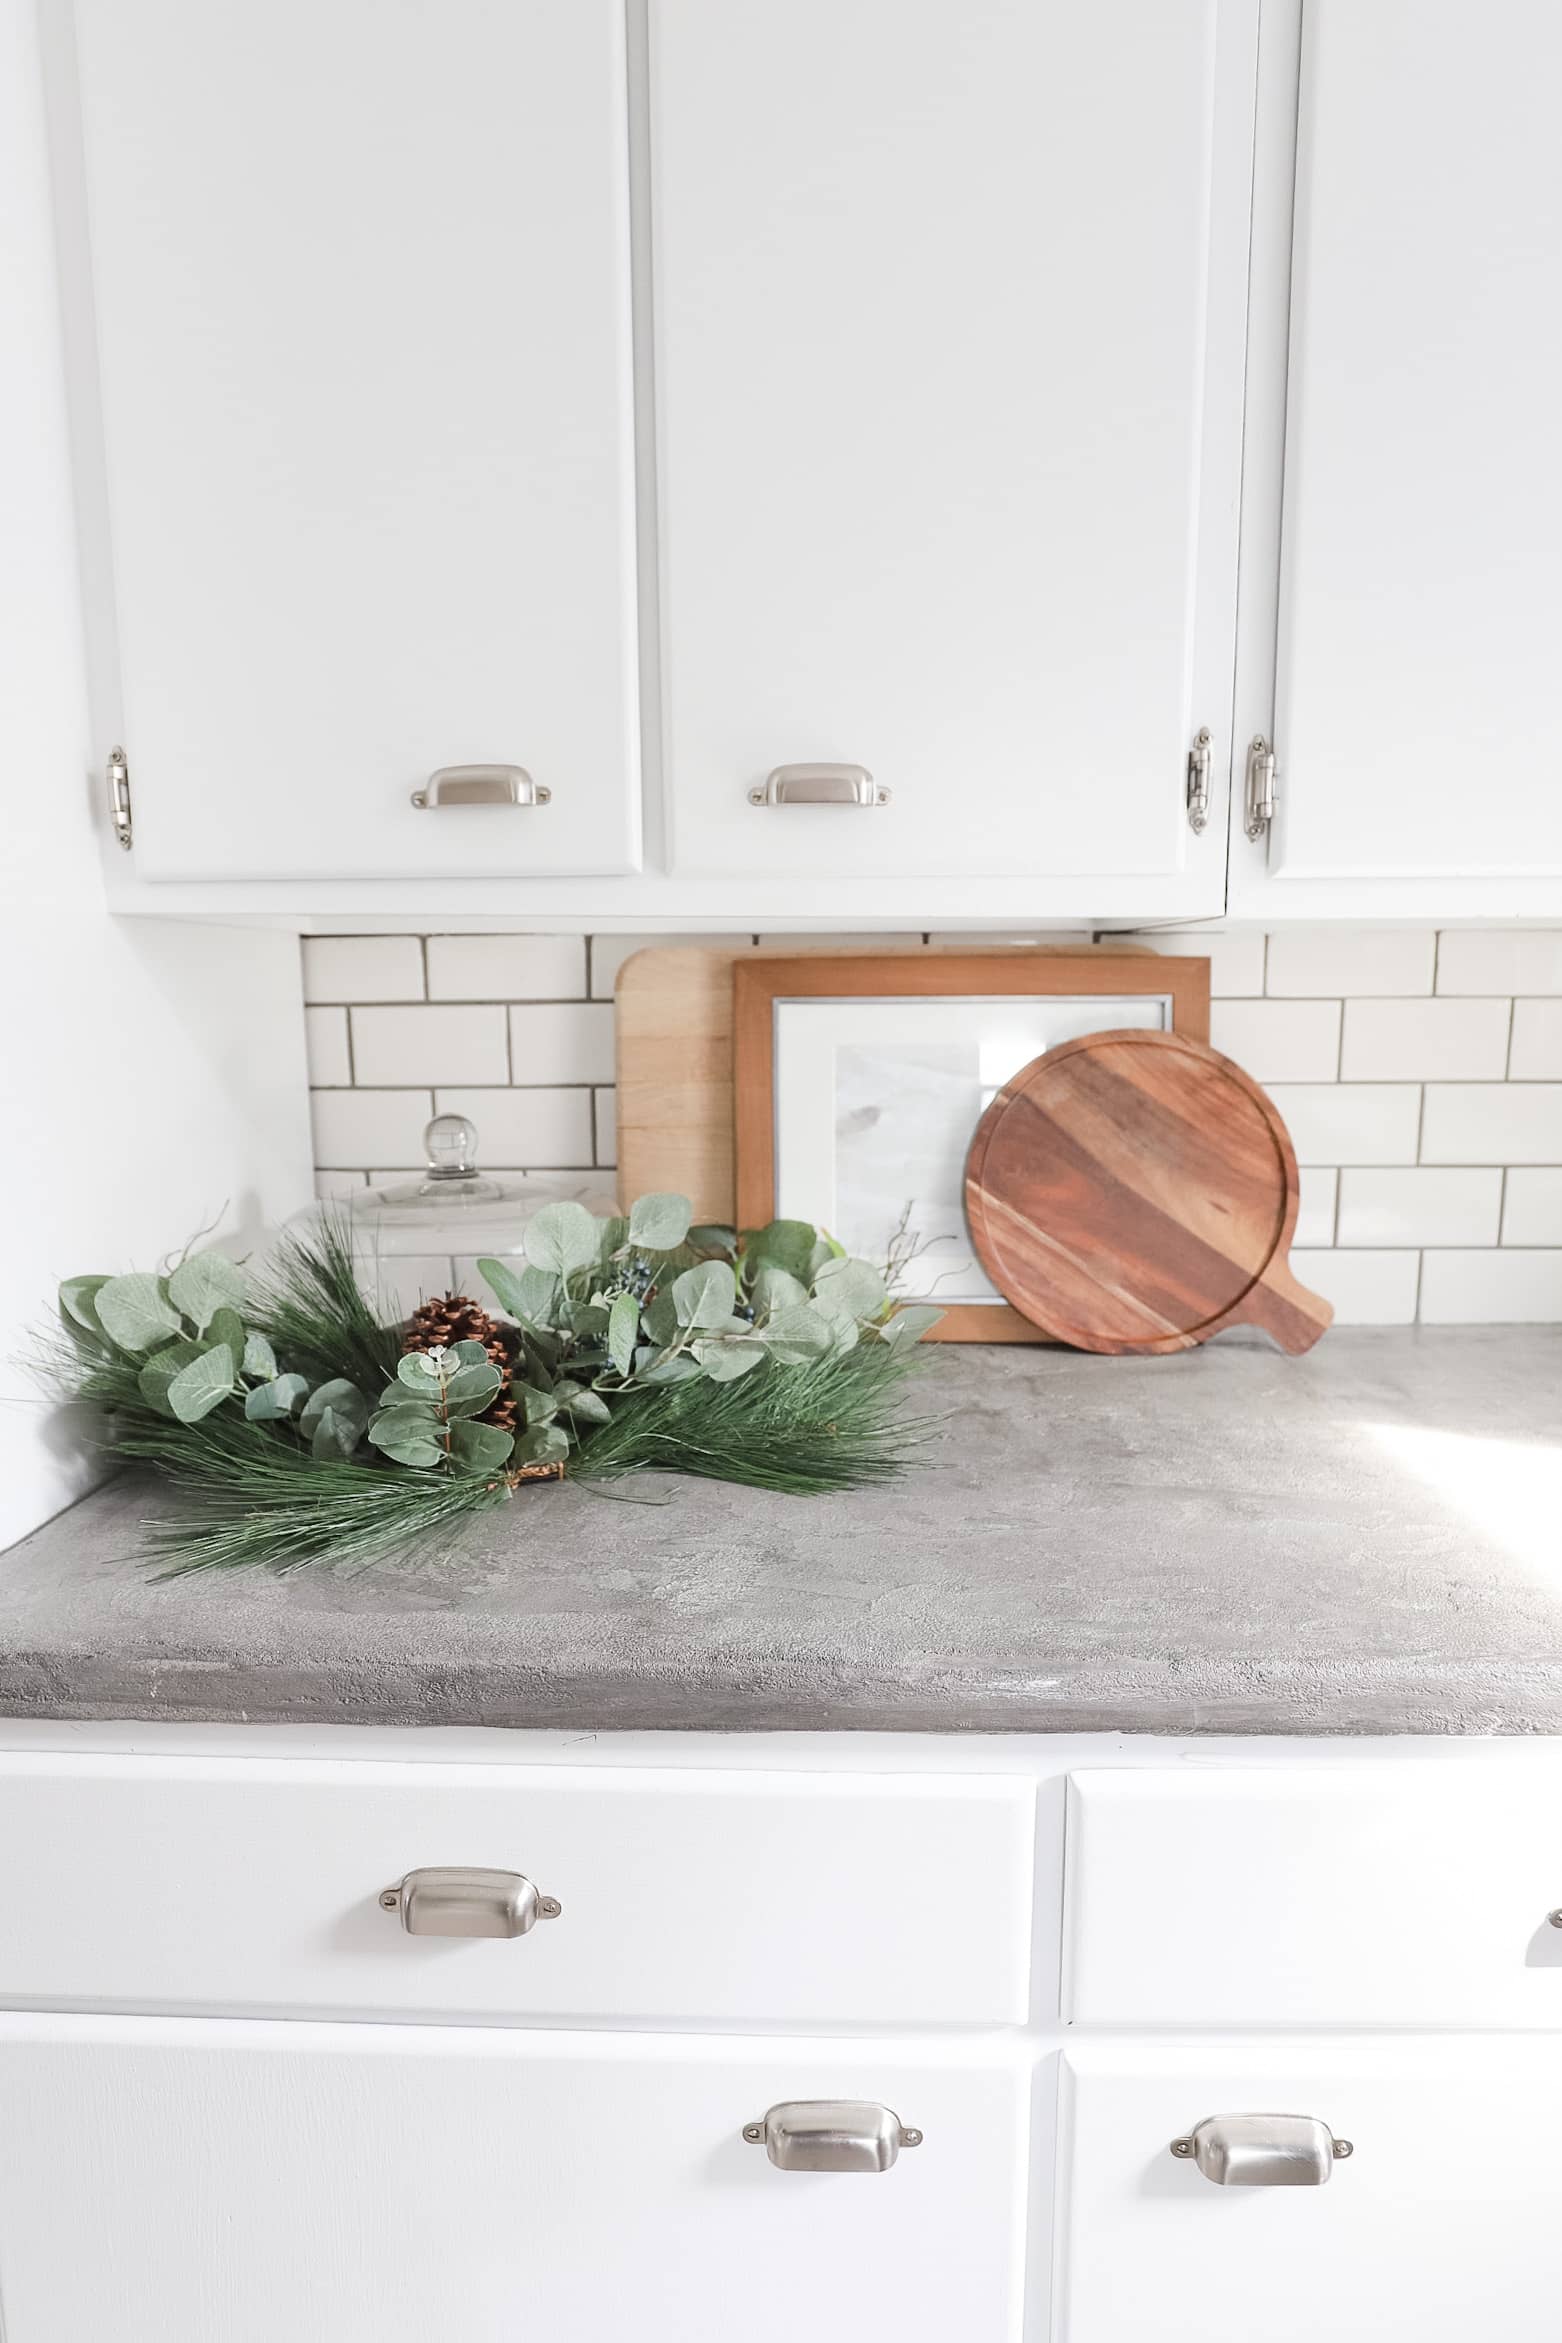
Our old counters were concrete. They were unique but functionally they were not working for us. Rough to the touch, some cracks here and there. I never felt like they were clean! They were the first step and swapping them out instantly warmed up the space while still keeping that cozy, classic feel I love.
We chose Avalon Reliance Quartz. Quarts for the durability and price point. Avalon for its warm white base, with flowy, organic gray veining. It has a softness and character to it that’s more relaxed and homey than ultra-crisp / luxe veining styles. Which I feel fits the nature of our smaller, traditional house.
We also picked an ‘ogee’ edge which is a little bit more expensive but a curved traditional look that adds a lot more charm too.

It’s brightened up the whole room and works with both warm and cool tones, which I love.
If you’re only going to change one thing in your kitchen, I truly think countertops give you the biggest return on visual impact. And took only 1/2 a day to install! Completed by a local stone company, and sourced from
Cabinets: Same Cabinets, Totally New Vibe
These are our original 1950s cabinets, and I was determined to keep their old charm. Instead of replacing them, we gave them a full glow-up with a few key updates.
For all three of the below, we hired a local furniture restorer to do it (@Henry_and_son on Instagram), who we’ve worked with before and trusted. Given that the cabinets were old and needed some real patience / love we knew we needed someone more than just a contractor. He really put a whole lot of love into them!
1. Fresh Paint = Instant Refresh
Paint can be controversial when it comes to cabinets, but with the right prep and finish, it completely transforms the space.
We used Natural Cream by Benjamin Moore Advanced in Satin finish.
🔗 LINK
Why I loved this color:
- It’s soft and warm, not stark
- It still feels classic with the age of the house
- It plays nicely with our new countertops and existing flooring
2. New Hardware (Tiny Change, Big Personality)
This is where the charm really came in.
Switching out the hardware instantly made the cabinets feel more traditional and warm instead of modern and cold.
I went with an antique-look brass instead of a polished brass. I hear the in-between stages of polished brass patina’ing is a bit awkward and I didn’t want to wait to love it. I used a combo of cup pulls and knobs, these I found felt heavy and good quality!
Also to note, our cabinets are a special ‘inset hinge’ that we could not find a ‘soft close’ or hidden hinge option to update these to. So instead, we embraced the outside hinge and found these inset hinges in the same finish.
What to consider when choosing hardware:
- Scale (bigger cabinets usually look better with slightly larger pulls)
- Finish that works with your faucet and lighting, but does not need to be an exact match
- Mixing knobs and pulls for visual interest
Hardware is one of the easiest DIY upgrades and such a great way to add character.
3. Trim & Corbel Details That Made Them Look Custom
This part surprised me the most.
Adding trim to the cabinet faces and sides gave them a more built-in, furniture-style look, and it made everything feel more high-end without replacing a single cabinet.
I also had this vision to add corbels to our window view, and boy did that add so much extra charm and uniqueness to this view!
We used 11/16″ moulding on the larger cabinets and 13/32″ moulding on the smaller drawers.
The corbels I found on Amazon.
This is especially great if:
- Your cabinets are flat and feel too plain
- You want more detail without changing the layout
- You love that “custom cabinetry” look on a budget
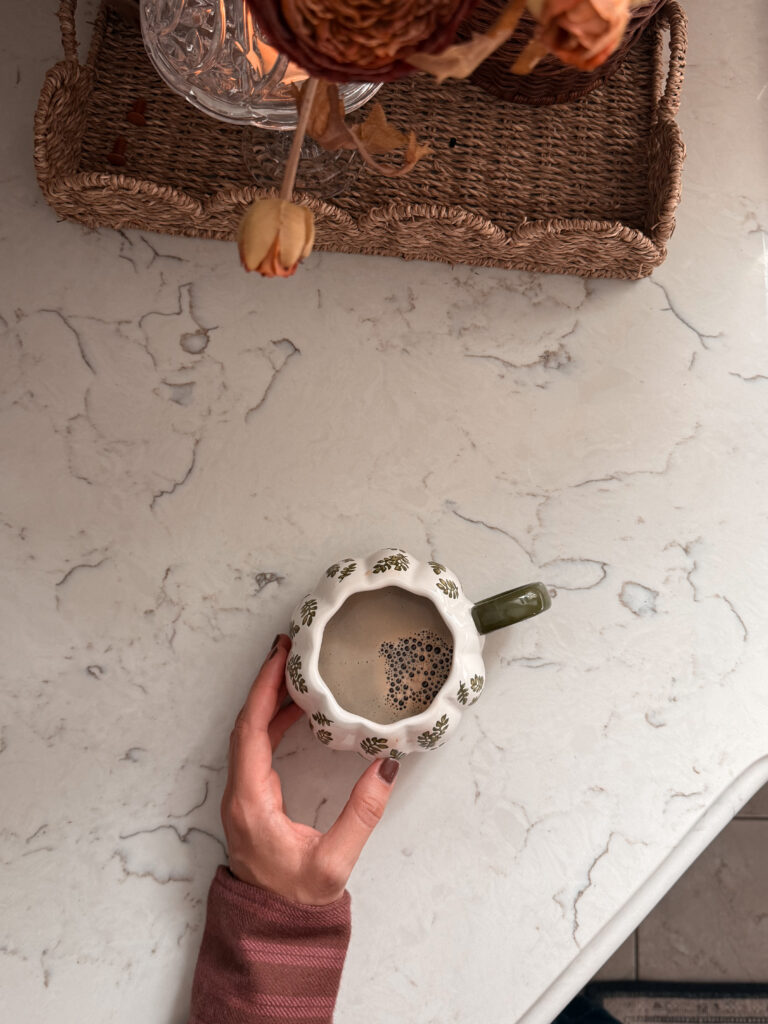
Styling Touches That Finished the Space
Once the big updates were done, I focused on making the kitchen feel warm, lived-in, and layered.
Some of my favorite finishing touches:
- 🍃 Plants and herbs for life and texture. Rosemary is a favorite.
- 🧺 Wood and woven accents for warmth.
- 🕯 Soft lighting and cozy details (ideally vintage or secondhand pieces!)
These are the little things that make a kitchen feel less like a workspace and more like the heart of the home.
Browse below for some of my kitchen staples.
Why I’m So Glad We Didn’t Do a Full Renovation
Could we have gutted it and started over? Sure.
But I would have lost:
- The charm of the original cabinets
- The character of an older home
- A whole lot of money
Instead, we focused on editing what we already had, and I truly think that’s why the kitchen still feels like us.
If you’re sitting on the fence about whether your kitchen is worth saving, I hope this is your sign that small changes can go a very long way.
Final Thoughts
This kitchen makeover reminded me that you don’t need a massive renovation to fall back in love with your home. Sometimes you just need better surfaces, thoughtful details, and a little vision.
If you’re planning your own no-reno refresh, I’m cheering you on and sharing more behind-the-scenes over on Instagram, TikTok and YouTube if you want to follow along.